Sourdough fermentation is one of the most fascinating techniques in bread making, and you can easily learn to do it gluten-free. In this article, we’ll guide you step by step on how to create and maintain a gluten-free sourdough starter, helping you bake soft, flavorful bread without sacrificing quality.
What is Gluten-Free Sourdough?
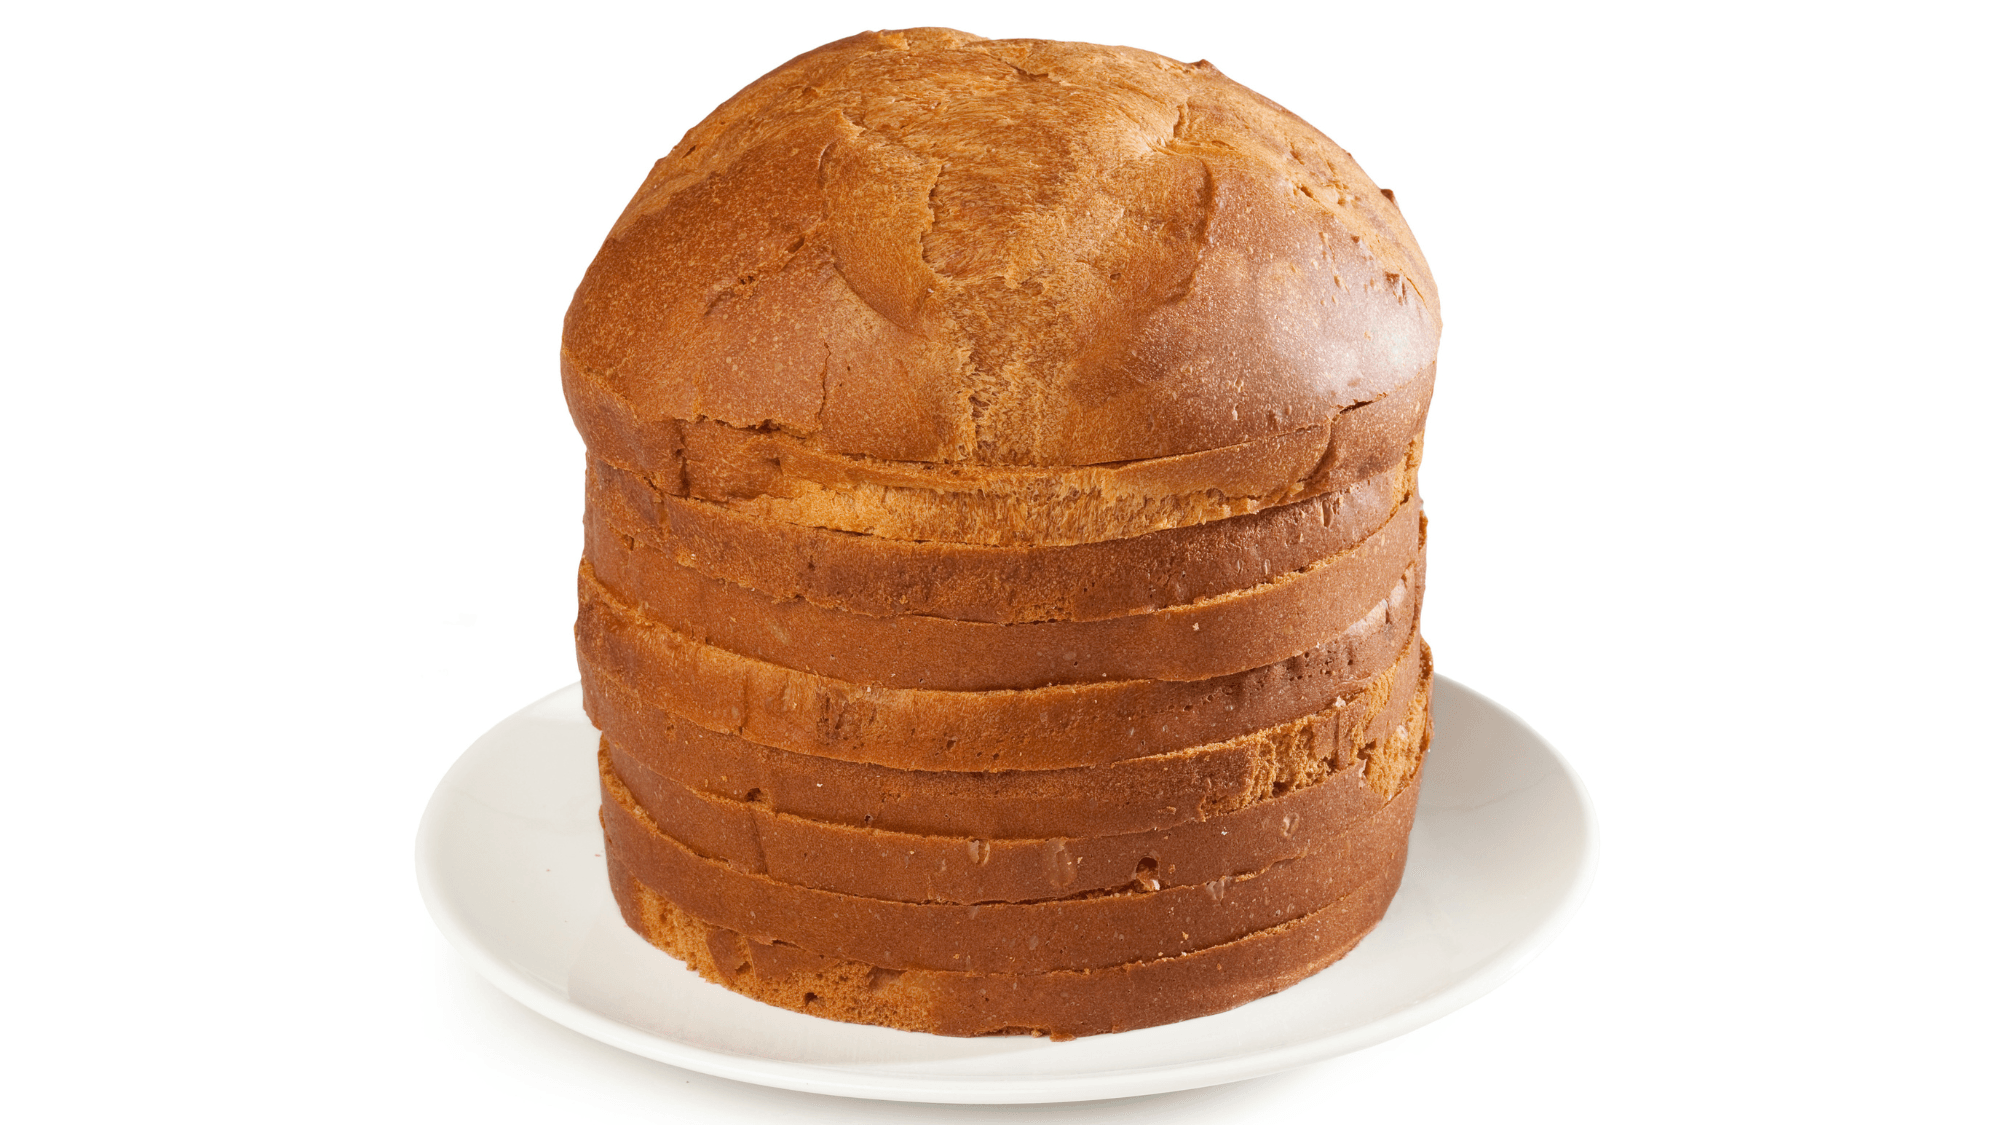
Sourdough is a natural culture of wild yeasts and bacteria that ferments dough, giving bread its signature tang and texture. When working with gluten-free flours, such as rice flour or buckwheat flour, it’s important to strike the right balance to create bread that’s both delicious and structurally sound. If you want to explore more, check out my guide on gluten-free bread for additional tips and techniques.

Ingredients for Gluten-Free Sourdough
To prepare an effective gluten-free sourdough starter, you will need:
Gluten-free flour: Common options include rice flour, corn flour, buckwheat flour, or a blend. The choice of flour will affect the flavor and texture of your bread. Here’s a suggested flour mix:
- 300g of whole grain rice flour
- 200g of buckwheat flour
- 100g of teff flour
- 1 teaspoon of xanthan gum or guar gum
Water: Use filtered or bottled water to avoid chlorine, which can slow down fermentation.

How to Prepare Gluten-Free Sourdough Starter
Follow these steps to start your gluten-free sourdough starter:
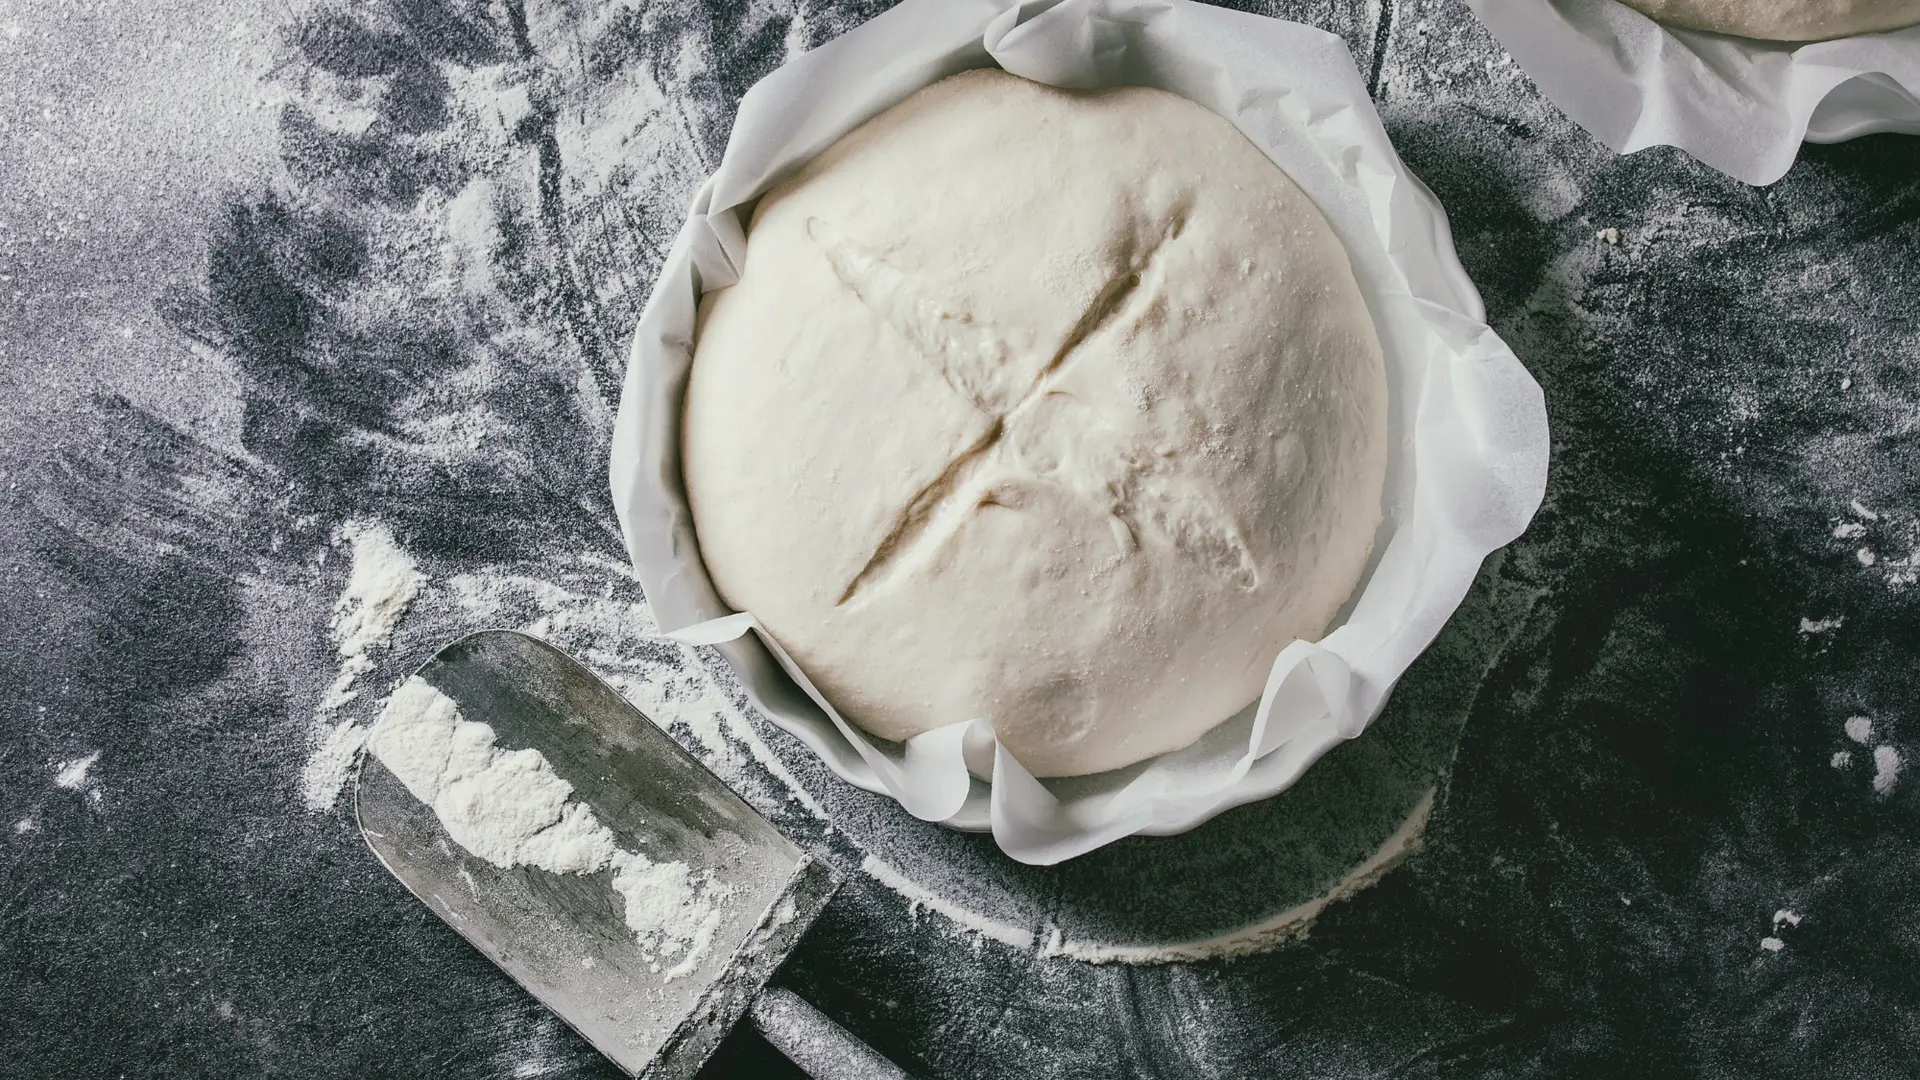
- Day 1: Mix 50g of gluten-free flour with 50ml of water and 1 teaspoon of honey in a bowl. Cover with a cloth and leave it at room temperature for at least 24 hours. You should see small bubbles forming as the fermentation starts.
- Day 2-7: Each day, discard half of the mixture and add another 50g of gluten-free flour and 50ml of water. Let it ferment for 4-6 hours, until you see more bubbles. Once it becomes stable, you can refrigerate it. If it’s sluggish, give it an extra feeding. In a few days, it will be ready!
- Day 8 (approximately): The starter is ready when it shows lots of bubbles and a slightly sour smell. You can test it by placing a small amount in water; if it floats, it’s ready for baking.
How to Maintain Your Gluten-Free Sourdough
After creating your gluten-free sourdough, it’s important to keep it active. You can store it in the fridge and refresh it every 15 days with:
- An equal weight of sourdough starter (after removing the crust)
- Equal weight of gluten-free flour
- Equal weight of water
After mixing, let it ferment at room temperature for about 4 hours before returning it to the fridge.
Using Gluten-Free Sourdough in Recipes
Before using your sourdough starter in recipes, refresh it and divide it into two portions:
- One portion to ferment at room temperature for 4 hours before storing it in the fridge
- One portion to ferment at room temperature for 4-5 hours, which you’ll use for your recipe.
The average amount of sourdough to use is about 20% of the flour weight (200g of starter for 1kg of gluten-free flour). You can adjust this ratio to your taste, but keep in mind that a higher starter amount will make the final product more sour.
Try using your gluten-free sourdough to make high-hydration gluten-free ciabatta or other types of bread. Remember, the rise times will be longer than with regular bread.
Common Problems and Solutions
Sometimes you may encounter issues with your gluten-free sourdough starter. Here are some common problems:
- The starter isn’t activating: This might be due to the water or temperature. Use filtered water and ensure the environment is between 22°C and 25°C. If your starter isn’t rising as expected, it may be too weak. In that case, feed it more frequently.
- Unpleasant smell: If the smell becomes too strong, your starter might be out of balance. Refresh it more often and store it at a stable fresh room temperature (18-22°C).
Benefits of Gluten-Free Sourdough
Gluten-free sourdough offers many advantages:
- Complex flavors: The natural fermentation process develops unique flavors that enhance the taste of gluten-free bread.
- Improved digestibility: Sourdough helps break down complex carbohydrates, making the bread easier to digest.
- Longer shelf life: Bread made with sourdough stays fresh longer due to the acids produced during fermentation.
Conclusion
Making and maintaining gluten-free sourdough may seem challenging, but with patience and care, you’ll be rewarded with healthy, flavorful, and well-structured bread. Take the time to experiment and enjoy the process of creating your very own gluten-free sourdough.