
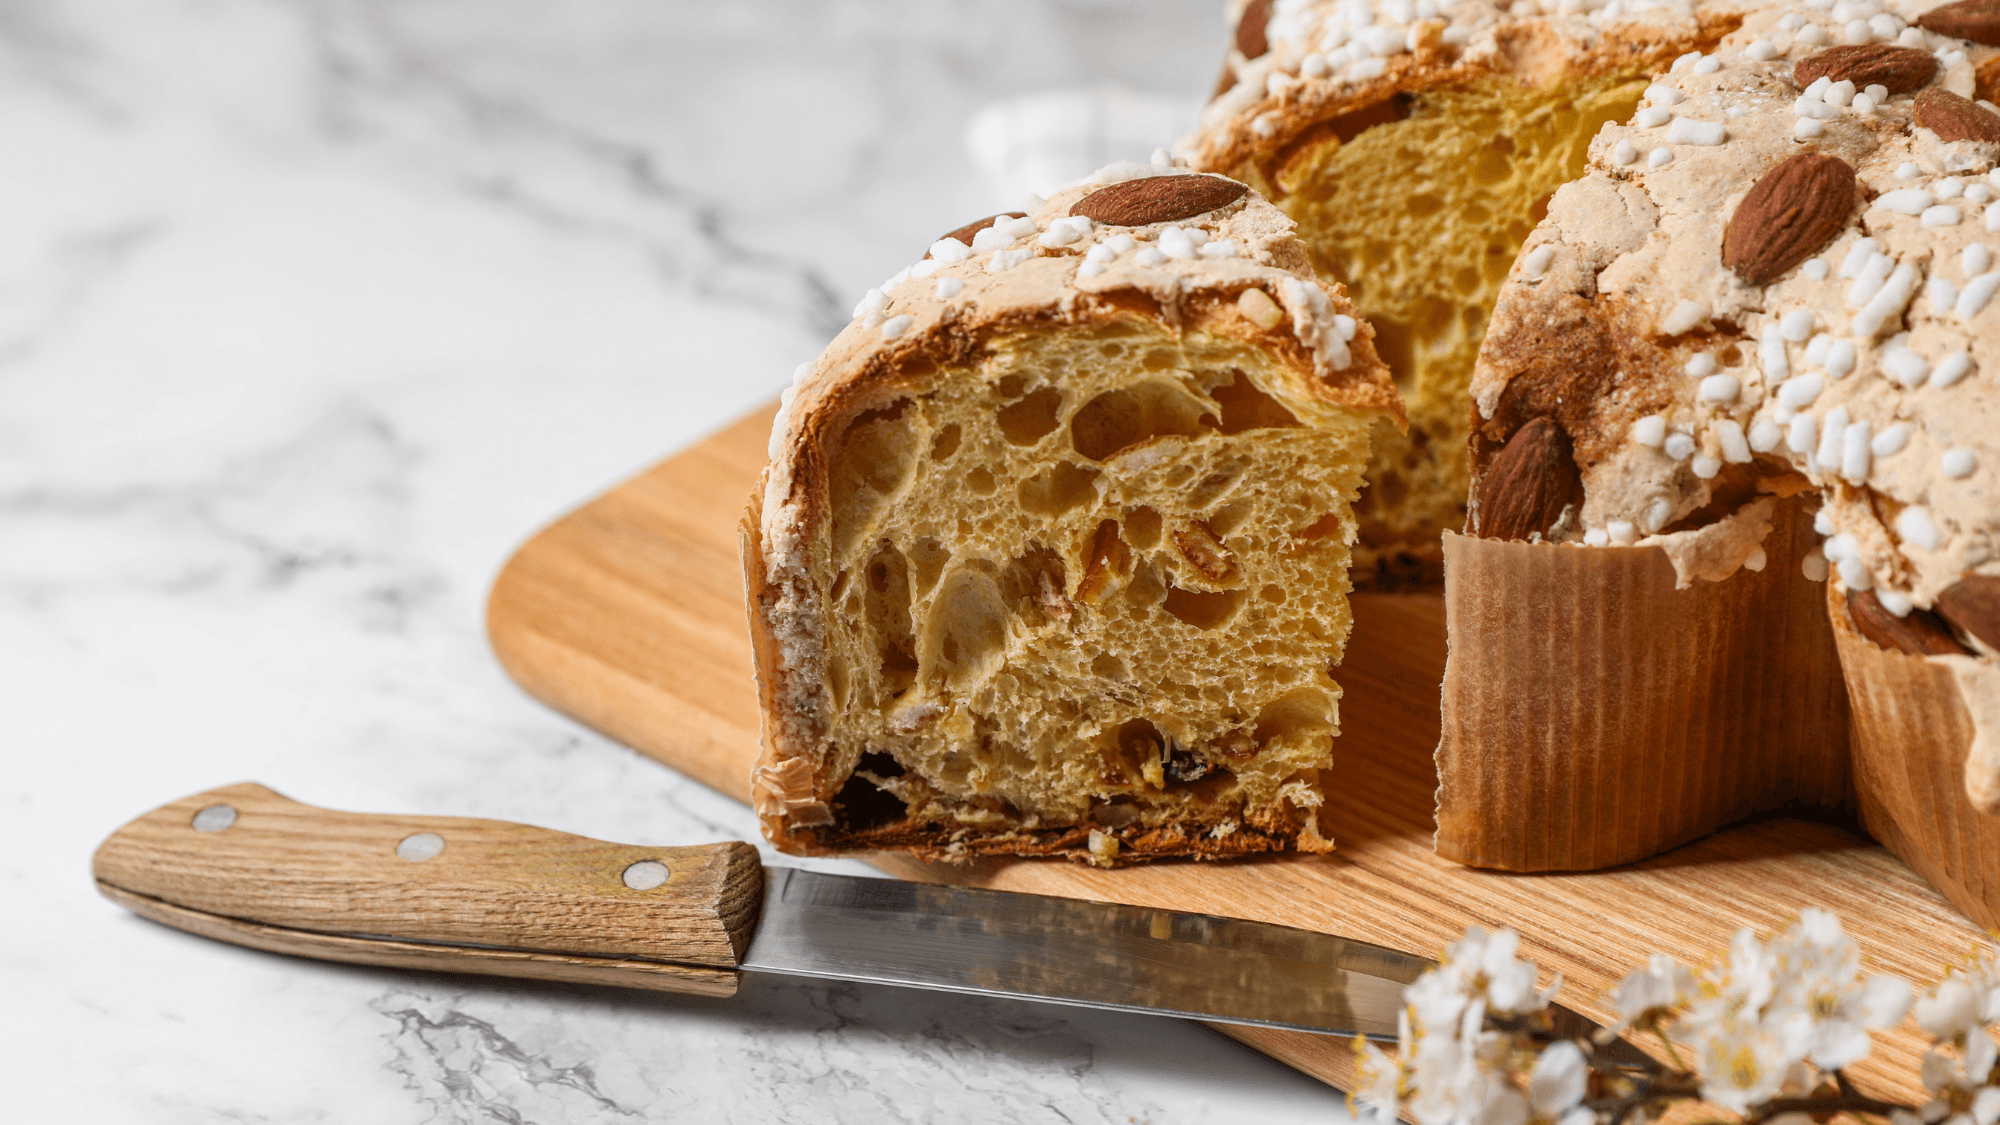
When it comes to Christmas, Panettone is a must! The recipe I am proposing is based on that of master Rolando Morandin, entirely prepared with Sourdough. Preparing Panettone at home is undoubtedly tricky, let's be honest! In fact, the recipe is quite long, and there are many aspects to know to read the signs (positive or negative) of the dough... But do not get discouraged, and most of all, do not get frustrated if the first attempt does not meet your expectations! If you carefully follow my advice, I guarantee you will succeed.If you want to discover more tricks, have a look at How to Make Panettone.
Panettones of 1kg
Equipment
- Stand Mixer
- Metal Skewers
- Cooking Thermometer
- Feed Grade Bags
- Immersion Blender
Ingredients
For the First Dough
- 800 gr Panettone Flour (00) ((W360, 14% - 15% of proteins))
- 500 gr Softened Butter
- 450 gr Sourdough starter (Fed 2 or 3 times)
- 350 gr Granulated Sugar
- 250 gr Egg Yolks ((Quantity 1))
- 200 gr Water ( at 30°C (86°F) (Quantity 1))
- 200 gr Egg Yolks ((Quantity 2))
- 100 gr Water ( at 30°C (86°F) (Quantity 2))
For the Second Dough
- 400 gr Panettone Flour (00) ((W360, 14% - 15% of proteins))
- 135 gr Egg Yolks
- 100 gr Softened Butter ((170gr if you won't use Clarified Butter))
- 70 gr Granulated Sugar
- 60 gr Clarified Butter (Ghee)
- 50 gr Honey
- 50 gr Candied Orange Peels in Paste
- 50 gr Flavoring Paste for Leavened Doughs (if you won't use Candied Orange Paste - Click here )
- 2 pods Vanilla Bourbon
- 24 gr Salt
Filling
- 500 gr Sultana Raisins (washed and re-hydrated)
- 300 gr Candied Orange Peel ((diced))
- 50 gr Candied Citron Peel ((diced))
Instructions
For the First Dough
- First of all, prepare a syrup by dissolving sugar and egg yolks in the water at 30°C (86°F), using an immersion blender.
- Pour the syrup into the mixer bowl and add the sourdough after the second or third refreshment.
- Knead for about 2minutes, so you can dissolve the Sourdough before adding the flour.
- Add the flour and let the dough form a glutinous mesh which must be elastic and extensible. This step is crucial for the success of the Panettone recipe.
- Check the proper formation of the glutinous mesh, taking a piece of dough and spreading it with your hands until it forms a thin layer of dough.
- Once the dough is amalgamated and elastic, add the second dose of egg yolks, allowing them to be correctly absorbed. Finally, add the water (quantity 2) according to the recipe.
- When the dough is fully developed, add the soft butter at room temperature in several batches, allowing it to be thoroughly absorbed into the dough.
- The first dough is ready. Transfer it into a large container, sprinkle the surface with some small pieces of soft butter, and let it rise at 22-24°C (71°F - 75°F) for 15h until it has tripled its volume. Fermentation time depends on room temperature; therefore, before proceeding with the next dough, make sure the dough has tripled its initial volume. To better visualize the development of the dough, I suggest creating a "graduated scale" on the container, marking the starting volume and the desired volume at the end of fermentation.
For the Second Dough
- Pour the first dough now-fermented into the bowl of the stand mixer.
- Knead the first dough together with the flour very well until forming a strong and elastic gluten mesh
- Add the egg yolks and knead until they are completely absorbed.
- Then add the sugar, honey, and candied orange paste (or the aromatic mix you have prepared) and allow to knead until the dough detaches from the mixer bowl.
- Mix without whipping the butter, clarified liquid butter, salt, and vanilla. Then add the mixture to the dough, a little at a time, allowing it to be well absorbed between each addition.
- Once the dough is well combined, add the raisins and candied fruit and turn the mixer for about 1-2min on low speed.
- Let the dough rise for about 1 hour to relax the gluten and complete the hydration of the proteins.
- For 1kg Panettone, divide 1100gr portions of dough and let rest on the table for 5minutes.
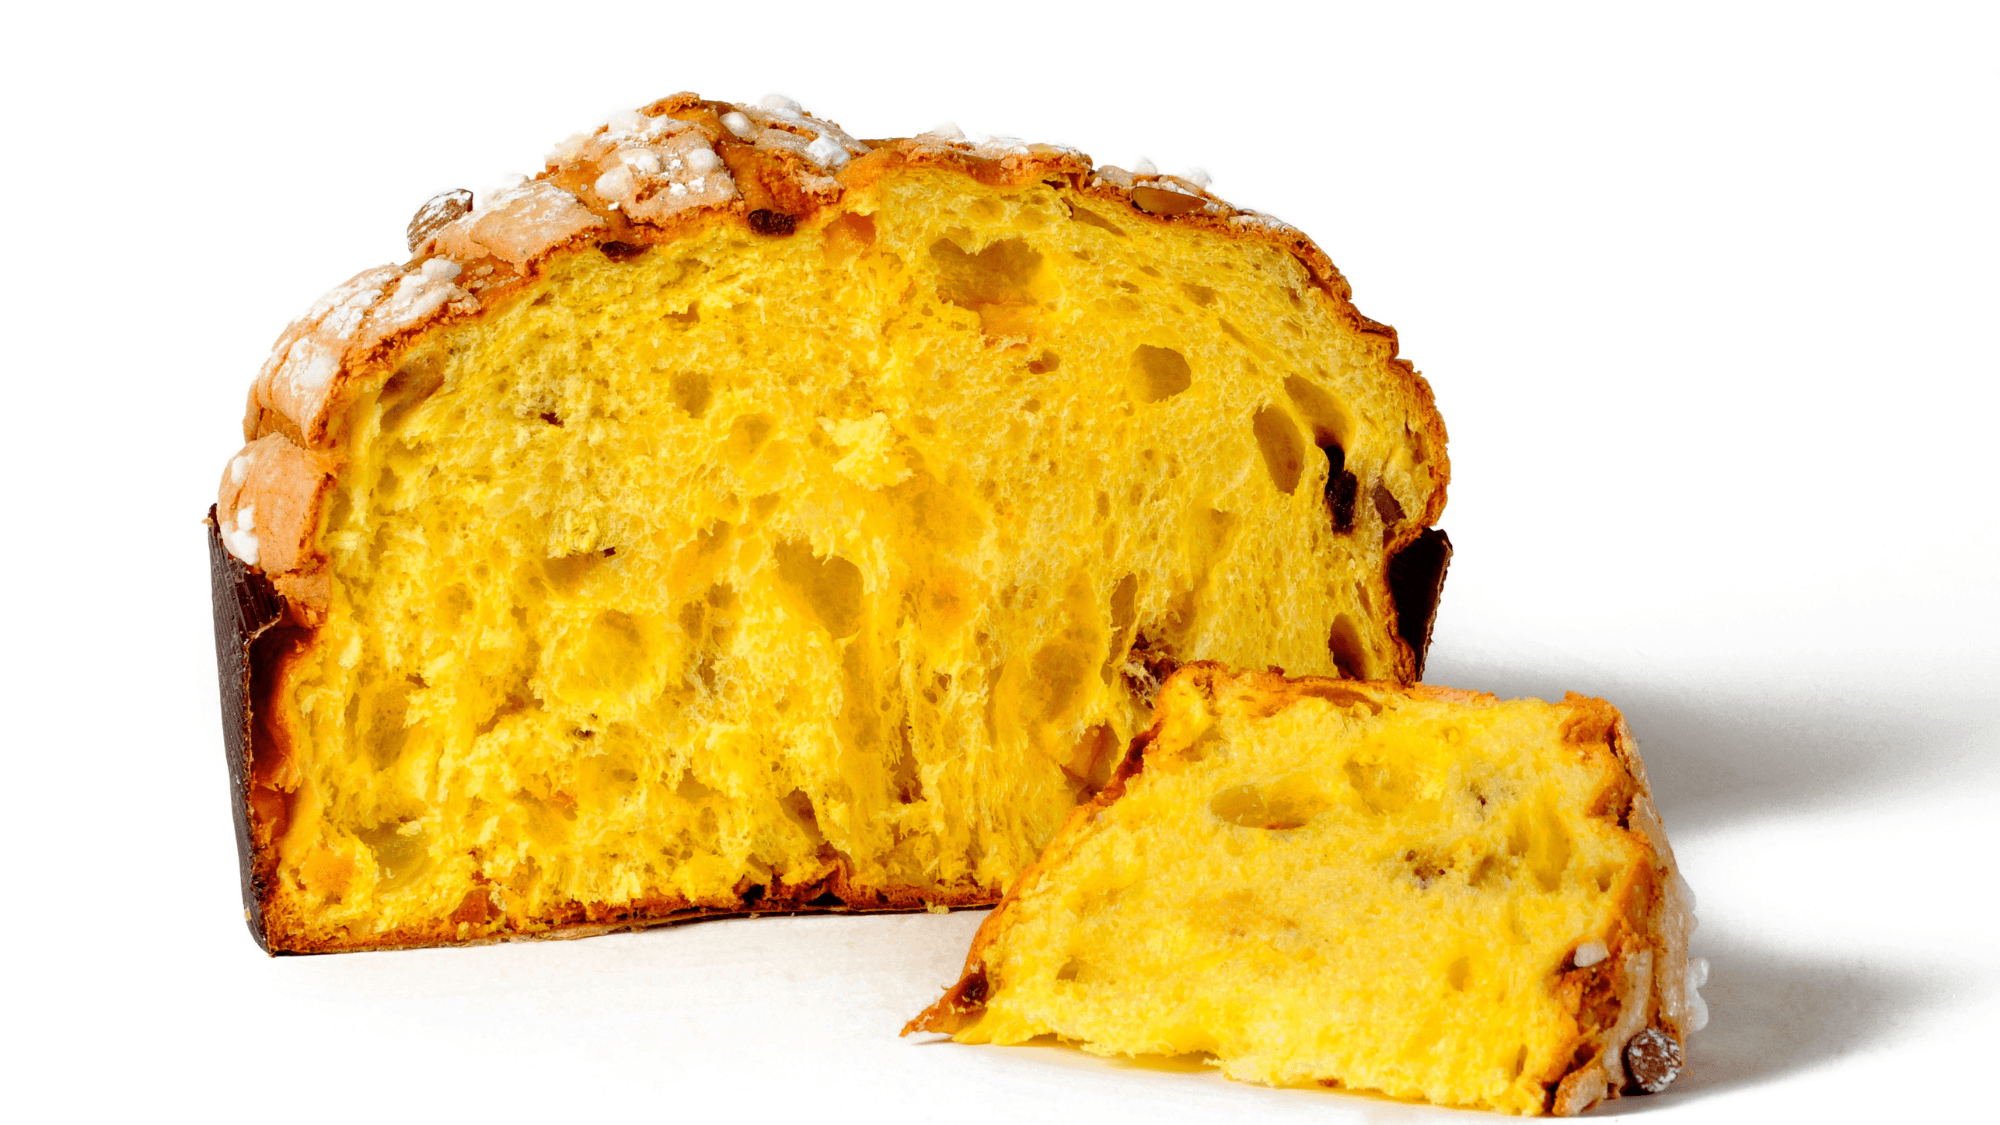
- Roll up the dough to stretch the gluten and form tight loaves. Place in paper molds (1kg) and let them proof at 26-28°C (79°F - 82°F) for 5-6 hours.
- The real Milanese Panettone is finished with the "scarpatura".For this, you score a cross on the Panettone surface, lifting the 4 edges. You place a cube of soft butter in the center and finally close the edges towards the center. This particular operation favors the growth of the panettone. It creates a larger toasted surface during baking with the consequent development of a more complex and pleasing aromatic system.
- Bake in a static oven at 150°C (302°F) for about 45-50min.
- To test cooking, check that the temperature at the heart of the product is between 92°C and 94°C (197°F - 205°F).
- Remove the panettone from the oven, pierce them with the appropriate metal skewers and turn them upside down for at least 2-3 hours.
- Let the Panettone cool completely before packing it in food-grade bags. I also recommend waiting a couple of days before tasting your Panettone to allow the aroma to spread into the cake.
Notes
The raisins must be prepared the night before the dough.
Rinse it twice in hot water at 50°C (122°F) with a little food-grade alcohol to properly clean it from the preservation waxes.
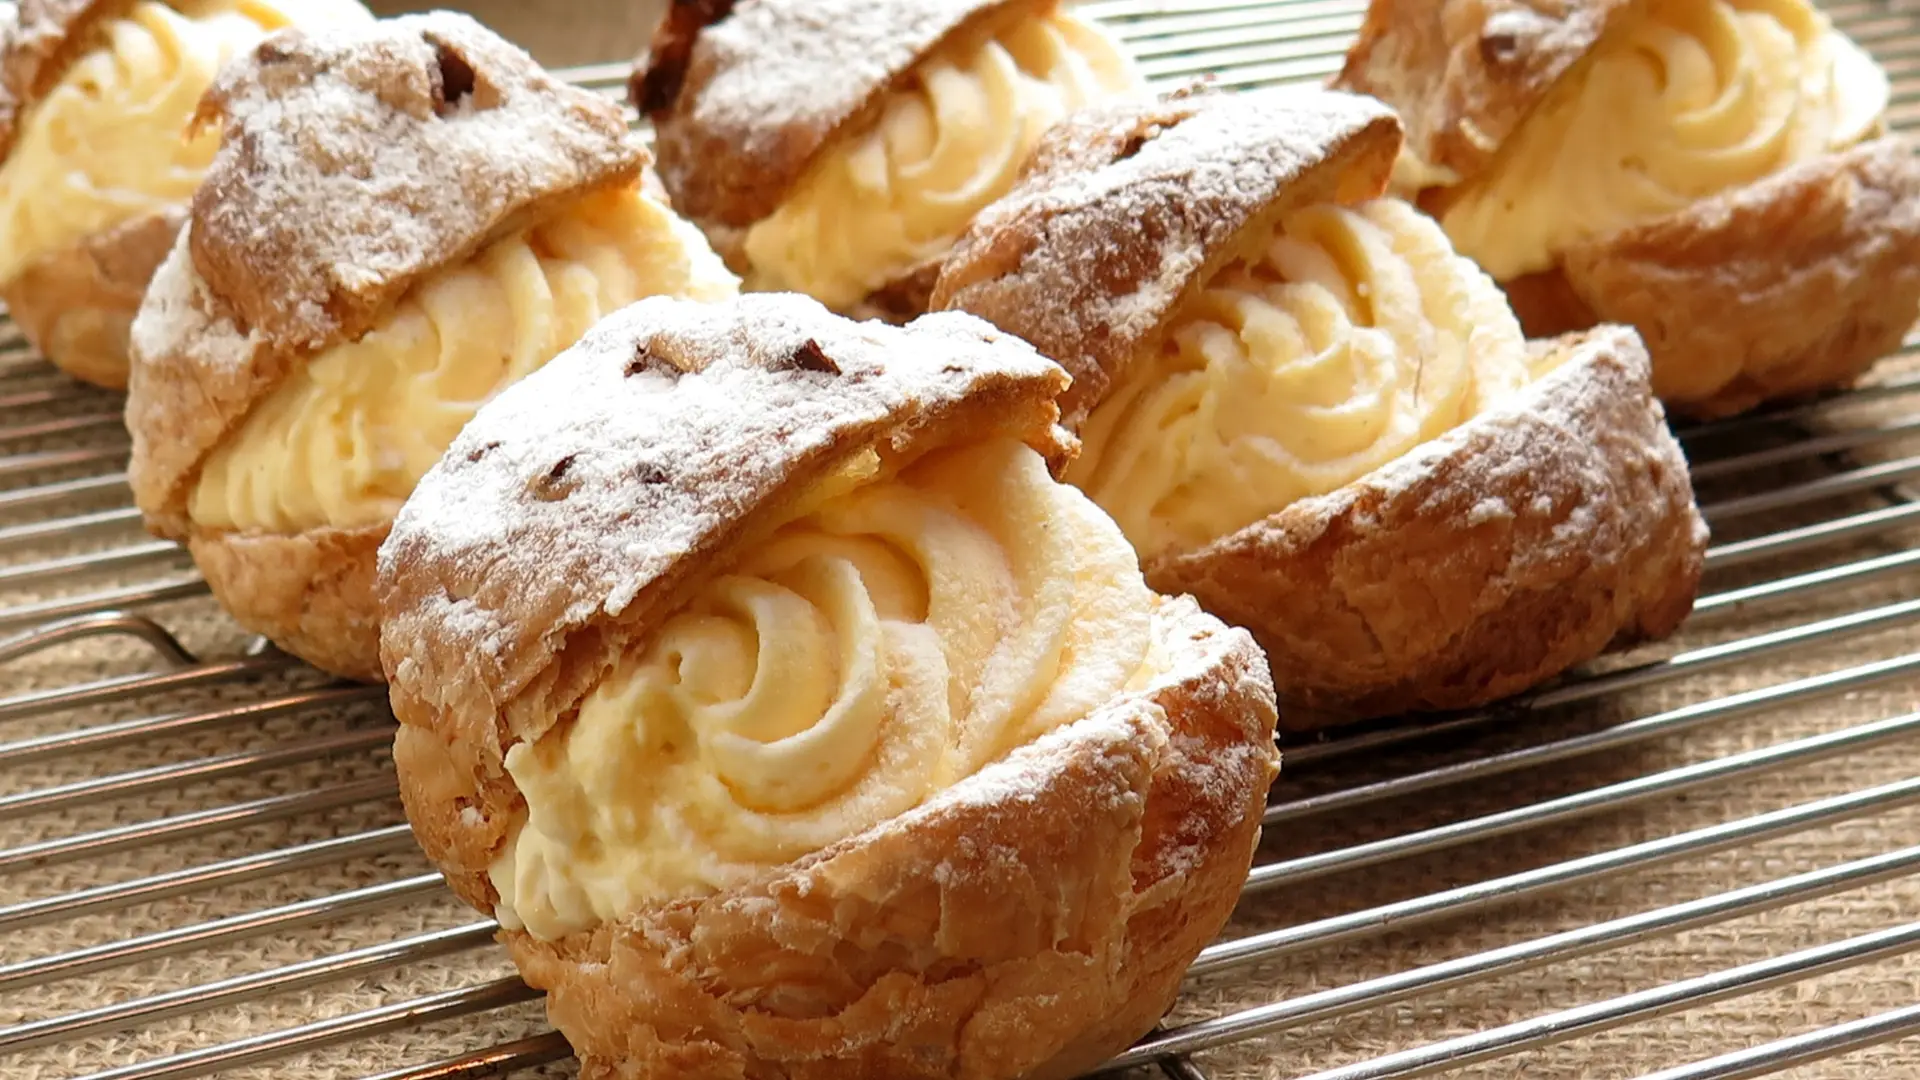
Then soak it in lukewarm water (35°C - 95°F) for 1 hour, without using alcohol or spirits (which might interfere with the fermentation). Finally, let it fully drain and lay it on a perforated pan, or spread it onto a clean cloth. Clarified Butter is liquid butter at room temperature, which gives an extraordinary softness to the Panettone. It's also great for the preparation of Choux and Shortcrust pastries. The Panettone's aroma is entirely developed in 2-3 days after baking; therefore, wait a few days before tasting it. Candied Orange Paste is an exceptional solution to flavor your Panettone in a natural way.
Rinse it twice in hot water at 50°C (122°F) with a little food-grade alcohol to properly clean it from the preservation waxes.
Then soak it in lukewarm water (35°C - 95°F) for 1 hour, without using alcohol or spirits (which might interfere with the fermentation). Finally, let it fully drain and lay it on a perforated pan, or spread it onto a clean cloth. Clarified Butter is liquid butter at room temperature, which gives an extraordinary softness to the Panettone. It's also great for the preparation of Choux and Shortcrust pastries. The Panettone's aroma is entirely developed in 2-3 days after baking; therefore, wait a few days before tasting it. Candied Orange Paste is an exceptional solution to flavor your Panettone in a natural way.
Nutrition
Serving: 100g | Calories: 4245kcal | Carbohydrates: 648g | Protein: 65g | Fat: 162g | Fiber: 24g | Sugar: 235g


76 comments available
Ciao rieccomi qua, ho riprovato la ricetta passo passo, stavolta ha incordato bene. ieri sera ho messo tutto il primo impasto nel forno ma ancora adesso(ore 14.30) non è lievitato di un millimetro, eppure il lievito madre era in formissima l’ho rinfrescato tre volte ed è raddoppiato ogni volta in circa tre ore… la prima volta non si è incordato, adesso non lievita. Voglio morire! !! Quali possono essere le cause di una mancata lievitazione del primo impasto, può essere la farina? Ho utilizzato una Manitoba Mulino Marino con 16 grammi di proteine, sono troppi 16g? Posso buttare tutto o è recuperabile in qualche modo? Mi dispiace buttare tutta questa roba, burro uova, farina…c’è un impasto per 5 panettoni da 1 kg… Aiutami, sono disperato!!!
Ciao Alberto,
lascialo lievitare e vedi quanto ci mette prima di buttarlo! A casa può capitare di non trovare le condizioni per stabilizzare la temperatura.
Se non lievita è solo “colpa” del lievito! Prova ad assaggiare il lievito per sentire se rimane amarognolo in bocca dopo averlo masticato per un pò… a volte il lievito ti sembra corretto, ma può avere acidità sbilanciate!
Ciao,
ti rifaccio i complimenti per il sito che e’ veramente molto esaustivo.
Grazie per la risposta ma non avendo un’indicazione in quel momento ho agito d’istinto e da come leggo, ho fatto bene ad abbattere l’impasto a 18ºC. L’unica cosa e’ che poi il secondo impasto non sono riuscito ad incordarlo come si dovrebbe ed anche se sono riuscito a cuocerli, i 2 panettoni che ho impastato, non si sono sviluppati bene.
Praticamente ad ogni inserimento degli ingredienti come da ricetta facevo il controllo del velo, ma al momento del burro, nonostante lo facessi a poco a poco, non sono riuscito ad inglobarlo totalmente e l’impasto e’ rimasto un po’ unto. Controllo la temperatura dell’impasto ed era arrivata a 24.7ºC e non c’era nemmeno quel sentore tipico di quando l’impasto diventa acido. A cosa puo’ essere dovuto?
Ovviamente ci riprovo!
Grazie
Ciao Andrea,
dipende dall’eccessiva acidità del primo impasto che ostacola la buona struttura del glutine.
Se ti dovesse ricapitare (speriamo di no), abbatti ancora di più l’impasto mettendolo anche in congelatore e nel caso, diminuisci un pò la quantità di zuccheri, grassi e farcitura successivi.. Ovvero, lascialo più leggero!
A presto
Ma quindi anche se il lievito parte come “dolce” quali potrebbero essere le cause che acidificano il primo impasto? E’ che io lo chiudo sempre intorno ai 24-25ºC e poi lo metto subito in cella di lievitazione a 24ºC. Mica conviene abbatterlo prima di fargli partire la fermentazione e magari prolungare il tempo di lievitazione?
Grazie
P.S.: purtroppo ho gia’ riprovato senza miglioramenti
Ciao Andrea,
non abbatterei mai l’impasto prima di farlo lievitare!
Le cause per cui il primo impasto acidifica possono essere molte. Nella mia esperienza le più frequenti sono:
1) Lievito di partenza acido, oppure con un’acidità TOTALE corretta, ma sbilanciata verso quella lattica: Il lievito rispetta la tabella di marcia dei rinfreschi, ma ho una componente lattica eccessiva e te ne accorgi da un gusto amarognolo in bocca
2) Temperatura di lievitazione sopra i 30°C
3) Eccessivo tempo di lievitazione
Se a tuo avviso tutti quesi parametri sono corretti nella tua ricetta, un’ultima causa (abbastanza frequente) può essere il burro. Prova a cambiare burro e scegli uno da PANNA FRESCA e DA CENTRIFUGA. Non prendere quelli di affioramento, perché possono (molto spesso) essere contaminati da batteri lattici residui della lavorazione dei formaggi.
Ti do 2 opzioni:
A) Burro Professionale Corman – il migliore (ma la confezione è da 10kg..non so se lo puoi dividere con qualcuno): https://biancolievito.it/prodotto/burro-di-latteria-corman-professionale-10kg/
B) Al super: Burro Lurpak Classico (quello non salato) >> I burri italiani, lasciali perdere!
A presto!
Ciao Fred,
grazie mille per i tuoi suggerimenti.
In quest’ultimo mese ho sempre rinfrescato giornalmente il lievito in base ai tuoi tutorial, facendo prima il bagnetto e rinfrescando in base alle necessita’ (troppo acido lattico o acetico, troppo debole). All’assaggio il lievito non mi sembrava amarognolo, una leggera punta di acidita’, ma non amaro.
Per quanto riguarda la temperatura di lievitazione e’ impossibile superare certe temperature in quanto uso “Fresco” di Irinox che ha la funzione di lievitazione a temperatura controllata ed io ho impostato una temperatura di 24ºC.
Le tempistiche di lievitazione del primo impasto rientrano perfettamente nella tua ricetta (15 ore e anche meno).
Come massa grassa, al primo tentativo ho usato il burro Lurpak leggermente salato, mentre al secondo tentativo ho usato il burro Meggle.
Dalle tue indicazioni, il burro potrebbe essere l’incriminato. Vista la difficolta’ a deperire il burro Corman, provero’ ad utilizzare il burro Lurpak Classico.
Grazie ancora. Ti tengo aggiornato sui miei progressi.
A presto
Andrea
Ciao Andrea,
è il burro salato allora il colpevole!
Tieni conto che la max % di sale che potresti mettere al primo impasto è lo 0,01% sul ttl.. Aggiungendo il burro salato hai di fatto bloccato/rallentato la fermentazione!
Prova con quello classico!
A presto!
Ciao Fred,
sto diventando un incubo lo so! Dovrei fare un corso sui lievitati, ma nella mia citta’ c’e’ la moda di fare i corsi durante la settimana, come se uno non lavorasse…va beh…glissiamo!
Ho guardato una tua diretta video su youtube in cui davi consigli per il panettone e ad un certo punto mi sono imbattuto sulla lievitazione del panettone. Questo aspetto mi interessa molto, perche’ sia nel primo sia nel secondo tentativo alla fine ero riuscito a formare il panettone (al secondo tentativo meglio che al primo) ed avevo fatto la pirlatura come mostrata dal maestro Morandin (sempre su youtube). Vado al dunque dicendo che se io imposto la camera di lievitazione a 24-26ºC in quanto tempo dovrei aspettarmi che l’impasto raggiunga il livello ideale per infornare? Perche’ a queste temperature anche dopo 8 ore mi mancava ancora un po’ e, stanco e scocciato, ho infornato lo stesso.
Altra questione e’ l’infornata; ammesso che fin qui sia andato tutto bene, imposto la temperatura del forno a 150ºC e noto che se scaldo anche dall’alto, il panettone tende a bruciarsi sulla superficie ed e’ inevitabile l’uso della stagnola. Che ne pensi della cottura solo dal basso?
Grazie mille per l’ennesima dritta e speriamo che la prossima sia la volta buona!!!
A presto,
Andrea
Ciao Andrea,
per la seconda lievitazione (quella nel pirottino) puoi fare una lievitazione a 28°C – 30°C per circa 6-8ore, oppure lasciare il prodotto a temp ambiente ed aspettare circa 10-12 ore. Tieni conto che il panettone pronto da infornare deve stare circa 2 dita sotto il bordo del pirottino e sfiorarne l’altezza con la sommità della cupola. Purtroppo quando si parla di lievitati a base di lievito madre, i tempi di lievitazione sono sempre molto relativi e devi aspettare l’impasto. Se invece vedi che l’impasto non cresce proprio, allora c’è un problema!
Per la cottura, la soluzione ideale sarebbe un forno statico con calore da entrambe le parti. Opta per i panettoni bassi, cuociono molto meglio nei forni casalinghi. Sicuramente la cottura solo sopra è la peggiore, perché cuoci subito la superficie e non dai modo di sviluppare!
A presto!
Ho fatto il panettone con la vostra ricetta, ma ho più che dimezzato la dose per ottenere un panettone ha poco più di 1kg, la lievitazione è stata fenomenale, dopo il secondo rimpasto ho fatto la pirlatura l’ho messo nello stampo ( non trovandolo l’ho creato io con della carta forno ), la seconda lievitazione l’impasto era raddoppio a questo punto ho fatto anche la scrpatura è messo in forno a 150 gradi dopo 50 minuti ho aperto il forno e con dei ferri da maglia ho messo il panettone a testa in giù, ma qui è avvenuto il disastro si è spaccato a metà,
Sapete dirmi il perché ?
,
Ciao!,
purtroppo il panettone non era cotto e si è staccato una volta capovolto! Assicurati che la temperatura al cuore del panettone sia 92gradi, prima di sfornarlo e capovolgerlo
A presto!
Il termometro elettronico segnava 92.2