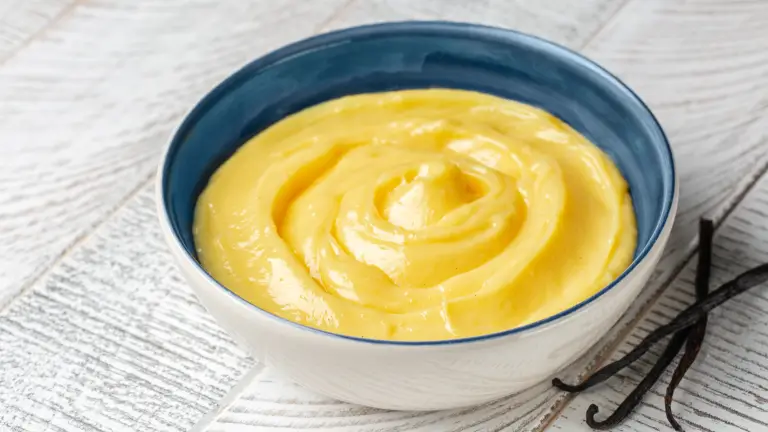
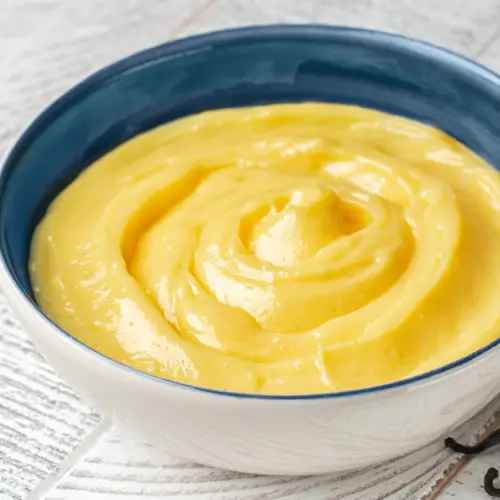
Custard or Pastry Cream is undoubtedly the base of pastry creams and many desserts. Today, we will learn how to prepare an excellent custard, from the ingredients to its correct storage.
Let’s start!
table of contents
EASY VANILLA PASTRY CREAM RECIPE WITH 2 CUPS OF MILK
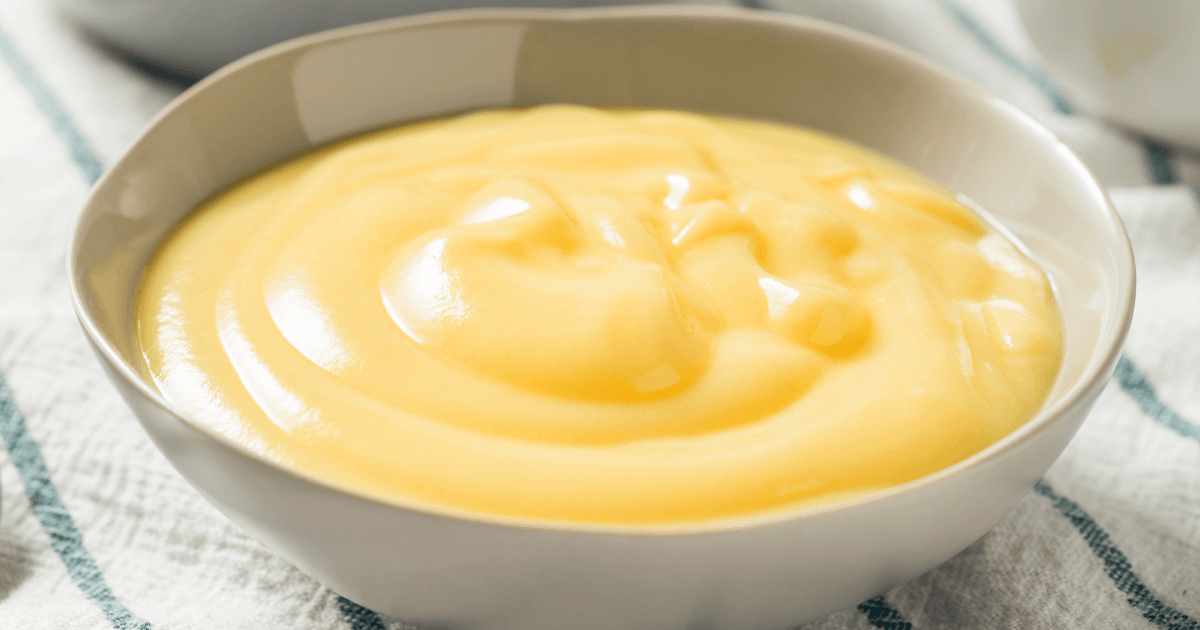
Ingredients
- 500 ml Whole milk (about 2 cups)
- 4 Large egg yolks (about 80 g total)
- 120 g Granulated sugar (about 1/2 cup + 2 tbsp)
- 15 g Rice starch (about 2 tbsp; optional, for a silkier texture)
- 35 g Cornstarch (about 4 tbsp)
- 1/2 vanilla bean Bourbon vanilla (or 1 tsp vanilla extract)
- 1/2 Lemon zest (optional, for lemon pastry cream)
- 1 pinch Salt
Instructions
- Sanitize a stainless-steel tray by pouring in a small amount of food-grade alcohol, then wipe the bottom and sides with a paper towel. For home use, a very clean shallow pan also works well.

- Bring the milk and salt to a boil in a saucepan. Meanwhile, whisk the egg yolks with the vanilla, sugar and starches in a mixing bowl.

- When the milk is hot, pour it into the egg yolk mixture in several additions, whisking constantly, until the mixture is completely smooth and evenly diluted.
- Transfer everything back to the saucepan and cook over low heat, stirring constantly, until the pastry cream begins to thicken.

- When ready, pour the hot pastry cream into the sanitized tray, cover with plastic wrap directly touching the surface, and cool quickly to 39°F / 4°C before using.


How to Make Pastry Cream at Home
Traditional Method
Whisk together the egg yolks, sugar, flavorings, and starch (do not whip to incorporate air). Once the milk reaches a boil, gradually pour it into the egg mixture a little at a time while whisking. Return the mixture to the saucepan and cook over medium heat, whisking constantly until thickened.
When the custard is done, cool it quickly as explained below and flavor as desired (for example, add fresh lemon zest for a lighter taste).
Whipped-Yolk Method
Whip the yolks, sugar, flavorings, and starches in a stand mixer until pale and fluffy. Gently pour this mixture into the boiling milk without stirring.
As soon as the mixture begins to bubble around the edges, whisk vigorously and remove from the heat. Because the whipped yolks contain more air, this method slows down heat transfer slightly, so cooking takes a bit longer.
Microwave Method
This method works best when making small batches of custard.
First, mix the eggs, sugar, starch, and flavoring together until smooth. Whisk in the milk, then transfer the mixture to a microwave-safe container (Pyrex or microwave-safe plastic). Cook on full power for about 2 minutes.
Remove and stir vigorously to redistribute the heat. Repeat in intervals of 1 to 1 ½ minutes, stirring each time, until the custard is fully cooked and thickened.
Thermomix Method
The Thermomix is very convenient for custard, especially for batches under 1 liter of milk. Add all ingredients to the bowl, blend on medium speed for 30 seconds, then cook at 194°F (90°C) for 7–8 minutes.
Cool quickly once finished. For chocolate custard, add chopped chocolate during the last minute of cooking, then blend at high speed for 10 seconds once finished.
Common Mistakes to Avoid When Making Custard (Pastry Cream)
Quick diagnosis: the most likely cause and a practical fix so your custard (pastry cream) always turns out smooth and silky.
Quick Best Practices
- Pour hot milk slowly while whisking: prevents thermal shock
- Use a thermometer: stop at 180–185 °F / 82–84 °C
- Dissolve starch in cold liquid before heating
- Cover with plastic wrap directly on the surface and chill quickly
- For silkiness: combine cornstarch + rice starch
- Always use real vanilla bean, pure extract, or fresh citrus zest
Cooling and Storage
No matter which method you use, once cooked, custard must be cooled quickly. This stops the eggs from overcooking and prevents bacteria growth.
For best results, transfer the custard into a clean, sanitized metal pan. Cover with plastic wrap touching the surface and chill rapidly to 39°F (4°C). If you have a blast chiller, use it for the smoothest texture.
Before serving or using the custard, whisk it vigorously to restore its creamy texture and shine.
Properly prepared and cooled custard can be stored in the refrigerator at 39°F (4°C) for up to 2 days. If you fold in whipped cream (to make an Italian-style Chantilly cream), storage time is reduced to 24 hours.
You can technically freeze custard by adding 0.35 oz (10 g) of gelatin per quart (1 liter) of milk to the base recipe. However, freezing is not recommended—especially with home freezers—since it often causes lumps once thawed.
How to Flavor Custard
Once your custard is ready, you can customize the flavor in many ways:
- Nut Pastes (such as hazelnut or pistachio): about 3.5 oz paste for every 2.2 lbs (1 kg) of cooled custard.
- Chocolate: melt and add as described in the “Ingredients > Chocolate” section.
- Liqueurs: around 1.8 oz (50 g) per 2.2 lbs (1 kg) of chilled custard. Adjust depending on the type of liqueur and your taste preference.
Simple pastry cream: the right ingredients and why they matter
Starches: the key to texture
In professional pastry cream, starches are usually preferred over flour: flour gelatinizes at around 198 °F / 92 °C, which is above the coagulation point of egg yolks (172–176 °F / 78–80 °C), and it can leave a slightly “floury” mouthfeel. Rice starch (about 172 °F / 78 °C) gives the cream a smoother, glossier texture, while cornstarch (about 180 °F / 82 °C) makes it firmer and more pudding-like. Potato starch, on the other hand, tends to become stringy, so it is not recommended for this preparation.
Sugars: sweetness and cooking control
Beyond flavor, sugar raises the coagulation point of the eggs and makes the cream silkier. For balanced sweetness, use about 250–350 g of sugar per 1 liter of milk. As an alternative, you can use honey: reduce the amount by about 30% (for example, use 700 g of honey to replace 1 kg of sugar), keeping in mind that honey will also add its own aroma.
Eggs: structure, color, and flavor
Eggs are one of the most important ingredients in pastry cream because they affect its structure, color, flavor, creaminess, and stability. More specifically, it is the egg yolks that give pastry cream its signature velvety consistency: they contain fats, proteins, and lecithin, which help create a stable emulsion and a finer texture.
As a general rule, the more egg yolks you use, the richer, smoother, glossier, and more stable the cream will be. A professional-style pastry cream, designed for rich fillings or a more refined result, can contain as many as 30–40 egg yolks per liter of milk. In this case, the color becomes more intense, the flavor rounder, and the texture creamier.
On the other hand, a pastry cream made with fewer egg yolks will usually be lighter, paler, and less rich on the palate. That is not necessarily a flaw: it depends on how you plan to use it. For baked pastry cream or preparations that need a drier, firmer structure, a lower amount of egg yolks may be more suitable. For a rich filling, however, it is better to increase the percentage of yolks.
| Use | Recommended amount of egg yolks | Result |
|---|---|---|
| Simple homemade pastry cream | 8–10 egg yolks per liter | Balanced, soft, and versatile cream |
| Rich filling cream | 15–25 egg yolks per liter | More intense, creamy, and stable cream |
| Rich professional pastry cream | 30–40 egg yolks per liter | Vivid color, great finesse, glossy texture |
| Pastry cream with whole eggs | 4–6 whole eggs per liter | More economical, less refined, and more compact cream |
Pastry cream with whole eggs
Pastry cream can also be made with whole eggs, but the result changes. Egg whites contain mostly water and proteins, so they tend to make the cream less rich, less yellow, and more compact than pastry cream made with yolks only.
Using whole eggs is a more practical and economical choice, and it is very common in home recipes. The cream will still be good, but it will have a different structure: firmer, less glossy, and with a slightly more noticeable egg flavor if the cooking is not well controlled.
Rich Professional Pastry Cream with Extra Egg Yolks
| Ingredient | Amount for 1 liter of milk |
|---|---|
| Fresh whole milk | 1000 ml |
| Egg yolks | 800 g (about 40 egg yolks) |
| Granulated sugar | 420 g |
| Rice starch | 25 g |
| Cornstarch | 25 g |
| Salt | 3 g |
| Bourbon vanilla | 1 vanilla bean |
| Grated lemon zest | optional |
Milk & cream: body and roundness
Whole milk is the ideal base for both flavor and structure. If you want a rounder, creamier pastry cream, replace about 20% of the milk with heavy cream (for example, 800 g milk + 200 g heavy cream for 1 liter total). This will give the cream more richness and smoothness without making it excessively heavy.
Flavorings and salt: the final touch
Choose a vanilla bean and lemon zest for a more natural, authentic aroma; a pinch of salt balances the sweetness and enhances the flavors. Avoid artificial flavorings or vanillin if you want a more professional flavor profile.


I REPLAY YOUR QUESTIONS ABOUT CUSTARD
This is not a good idea because, with Flour, you would get a stickier and thicker Custard.
Flour is suggested if you use up to 8 eggs per liter of milk.
Not a good idea because potato-starch produces a very sticky and gummy texture. Also, once in the fridge, the cream will tend to divide and lose liquid.
Yes, if you want to prepare a Baking Custard. On the other hand, adding the egg whites will make the Custard very stiff and not very pleasant in the mouth if you want to use it “pure” to fill pastries and cakes.
If you notice it just after cooking, you can extend the cooking time by a few minutes.
Otherwise, if the cream is too liquid once chilled, the easiest solution (just for emergency) is to heat about 1/3 of it, add 20gr for each liter of milk of soaked gelatin. Then mix it into the remaining cream and chill again for a couple of hours.
This phenomenon is called “syneresis” and can depend on incorrect cooking (too long or too short) or a too-high percentage of fat.
By replacing 10% of the sugar in the recipe with glucose syrup, you will limit the problem…
Yes, you can replace between 20% and 50% of the milk’s weight with heavy cream. In this way, you will obtain a Custard with a smoother texture and a rounder taste on the palate.
Yes. You will have a slightly less fatty custard, but the result will not vary perceptibly.
If well stored and covered, you can keep the Custard in the refrigerator at +4°C (39°F) for up to 2 days. However, if you add whipped cream to it, the storage time is reduced to 24 hours.
Generally speaking, this is not a good idea because it will be quite lumpy and runny once thawed.
If you want to give it a try, add 10gr of gelatin for every liter of milk. The gelatin will help keep the texture of the cream firmer.
No problem! Soy or rice milk are excellent substitutes for cow’s milk, and you can replace them with equal weight.
Sure, using only rice starch and corn starch (Maizena), you will obtain a completely gluten-free product.
Yes, the Custard with added butter is called Mousseline Cream and is widely used in French pastry to fill cakes and mignon pastries. The proportion is about 420gr of soft butter per 1kg of well-cold Custard.
Yes, you can increase the quantity of starch to compensate for the thickening action of the yolk. For example, you can use 55gr of rice starch and 80gr of corn starch for 1 liter of milk.
To satisfy the eye, you can add a small amount of yellow food coloring gel or a bit of turmeric.
In general, you can use 100gr of dry fruit paste (pistachio or hazelnut) to flavor 1kg of well-cold Custard.
I recommend not exaggerating with paste quantity because it weighs down the cream and makes it more liquid.
Generally, the unit of measure for the Custard recipe is the quantity of milk.
If you need less cream, you can divide the recipe as you prefer. However, I recommend that you do not go below 250ml of milk to ensure better cooking.
Sure, I recommend using coloring gels and adding them to the Custard once it is well chilled. Consider that the starting base is yellow, so the colors will turn accordingly!
If you have no alternative, yes. I personally recommend a good vanilla bean or a high-quality pure vanilla extract.
In case you miss one of the 2 starches, you can easily substitute the missing one.
Keep in mind that if you use only rice starch, you will obtain a more fluffy (and less-structured) Custard, while if you use only corn starch, you will have a more compact and stiff texture.
If you need to make a Tarte with a custard that will bake in the oven, I recommend making a specific Baking Custard.
The easiest solution is definitely to choose yellow paste eggs (the ones to make homemade pasta). Otherwise, you can use a tiny amount of yellow/red gel colorant.











14 thoughts on “Crema Pasticcera: Ricetta Facile, Veloce e Senza Grumi”
Grazie per la spiegazione dettagliata e precisa. Molto utile le informazioni sui bilanciamento di zucchero e amidi in rapporto ai tuorli. Per quanto riguarda l’aromatizzazione della crema, potrei usare la polvere di liquirizia? Inoltre, di recente ho mangiato una crostata con crema e frutta dove era stato usato il succo ACE a posto del latte, molto buona, ma non mi ha dato la ricetta… Potrei usare succhi di frutta? Grazie molte in ogni caso, conoscere la tecnica e la”chimica”di ricette è sempre vantaggioso!
Ciao, spiegazione eccellente. Ho un dubbio: quando faccio la crema questa solitamente sa molto di uova (sia nel gusto che nell’odore), e questo potrebbe dipendere da una cottura eccessiva, giusto? Inoltre mi chiedevo facendo una crema ricca di tuorli, questo problema non aumenterà? Lo chiedo perché mi è stato detto, che al contrario, una crema ricca in tuorli, diminuisce il sapore di uova, vorrei sapere se è vero? Grazie mille.
Ciao Elisa!
il problema potrebbe dipendere proprio dall’eccessiva cottura della crema.
Proprio per questo, facendo una crema ricca di tuorlo, bisogna fare attenzione a non accedere con la cottura; il risultato ripagherà tutti gli sforzi! 🙂
A presto!
Ciao, complimenti per aver trattato l’argomento in modo tecnico ed approfondito. Vorrei fare questa crema con il mio Kenwood Cooking Chef (planetaria che cuoce). A sensazione: per mixare potrei usare a freddo la frusta a filo grosso (o lo scudo?) a media velocità; per cuocere la mezzaluna con “leccapentole” e temperatura a 85°C (cercando di spegnere quando la crema arriva ad 83°C). Che ne pensi? Grazie!
Ciao Daniele,
puoi fare tutto con la spatola leccapentola. Giustissimo come hai scritto: Mixi tutti a freddo e poi cuoci.. Tieni d’occhio la cottura, mi raccomando. Credo che 1l di crema la cuoci in 7 /8 minuti.
Una volta cotta, toglila subito da boccale e raffreddala velocemente!
A presto!
Grazie, fatta, racconto a te e ai lettori come è andata: con il KCC puoi impostare la temperatura a 83°C o 87 °C circa, ho scelto quest’ultima. Con il mescolamento continuo, da termometro integrato, arriva alla temperatura abbastanza lentamente, in circa 15 minuti. Temp. raggiunta, la crema si stava appena addensando, ho tentato di utilizzare altri due termometri esterni per verificare la temperatura (per la cronaca, davano una temperatura inferiore del kcc, ma erano in disaccordo), tuttavia per farlo ho dovuto fermare la spatola e, malgrado avessi fermato anche la cottura, si è coagulata la parte a contatto con la vasca. Pazienza, mi piace sperimentare, alla prossima valuto la densità “a vista” 😀
(comunque l’ho salvata con la frusta a mano mentre la raffreddavo). Ciao, Daniele
Ciao Daniele,
ti consiglio di non fermare la spatola, altrimenti rischi che la crema coaguli sul fondo. Una volta che vedi che la schiumetta bianca scompare, allora ci sei quasi e in qualche secondo la crema è cotta!
A presto!