
Making a sourdough starter at home requires very few ingredients: mainly flour and water. Fermentation begins spontaneously thanks to microorganisms naturally present in the flour and in the surrounding environment, which are progressively selected over the following days through fermentation and regular feedings.
Many recipes recommend adding an extra ingredient, such as fruit pulp, yogurt, or honey, to help initiate fermentation. These ingredients can indeed modify the fermentation environment, but they are not essential. In the method I use on Biancolievito, I prefer to start with flour alone, allowing the community of yeasts and lactic acid bacteria to develop gradually through regular feedings. Flour provides not only the nutrients needed for fermentation, such as sugars, proteins, and minerals, but also contributes to the initial microbial population. Our goal is therefore to gradually develop a stable community of yeasts and lactic acid bacteria that becomes increasingly active over time.
Developing a sufficiently stable sourdough starter generally takes about 10–15 days, but this should be considered only a guideline. The type of flour, temperature, fermentation activity, and environmental conditions can all significantly affect the timing. So do not worry if your starter does not follow the schedule exactly: its behavior after each feeding will be the most useful indication of how it is developing.
Before you begin, you can also learn more about the differences between the main fermentation methods: sourdough starter, commercial yeast, liquid levain, and biga.
Ingredients for Making a Sourdough Starter at Home
To start your sourdough starter, you will need:
- Flour: for the initial dough, I prefer whole-wheat or semi-whole-wheat flour, which is rich in nutrients and enzymatic activity. For subsequent feedings, we will switch to a strong Italian Type 00 flour with about 14% protein and, as a reference for more experienced bakers, a strength of around W360. The flour I use to feed my sourdough starter is Molino Quaglia Panettone Flour.
- Water: preferably at room temperature. If your tap water is heavily chlorinated, you can use low-mineral bottled water instead.
- Salt (optional): in the method I use, I add a small amount to the initial dough. This can be particularly useful if you start making your sourdough starter during the summer.
How to Make a Sourdough Starter – Step by Step
Day 1 – Starting the Sourdough Starter
During this first stage, we need to create the right conditions for the microorganisms naturally present in the flour and surrounding environment to begin multiplying. Flour, water, temperature, and time will gradually create an environment that favors the development of the future community of yeasts and lactic acid bacteria.
Knead together:
- 150 g whole-wheat or semi-whole-wheat flour
- 75 g still water, preferably bottled if your tap water is heavily chlorinated
- 1 g salt
Once all the ingredients have been mixed and kneaded together, place the dough in a clean jar. Cover it with cheesecloth or a piece of paper towel secured with a rubber band and leave it to ferment for 24–36 hours at approximately 25 °C (77 °F).
At this early stage, you may not yet see any noticeable increase in volume. Inside the dough, however, the microbial population that will drive fermentation over the following days is beginning to be selected.
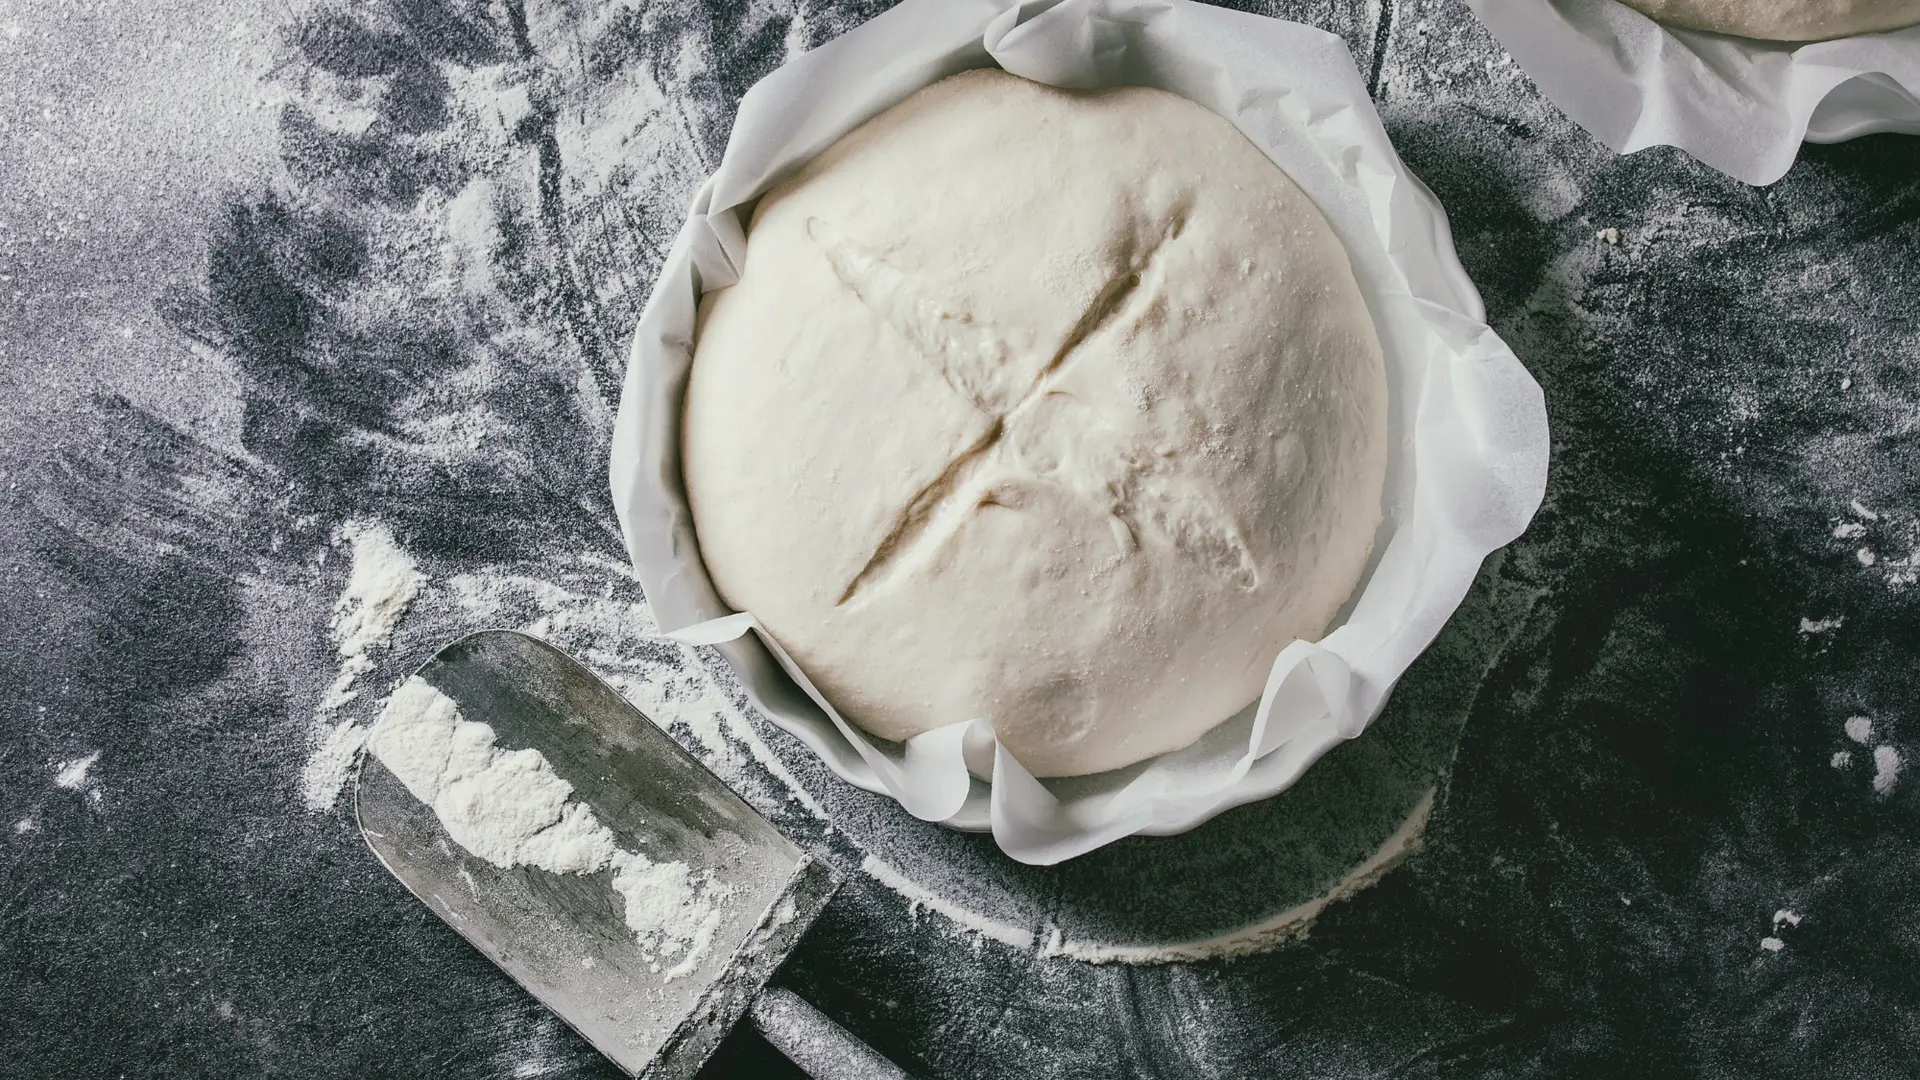
This is what the initial sourdough starter dough looks like:

Days 2–7 – Feeding the Sourdough Starter
After about 24–36 hours, you will normally begin to see the first signs of fermentation. The volume may not have increased very much yet, but bubbles will begin to appear on the surface and inside the dough, and the characteristic aroma of fermentation will start to develop. At this stage, it may still be fairly sharp.

Once the starter begins to show these first signs of activity, remove any crust that may have formed on the surface and take the starter from the center. Weigh the amount you want to feed — I recommend maintaining at least 200 g of starter — and knead it with:
- Strong Italian Type 00 flour: the same weight as the starter
- Water: 43% of the flour weight
For example, to feed 200 g of sourdough starter, you will use:
- 200 g strong Italian Type 00 flour
- 86 g water
Knead everything together and transfer the starter back into a container. A graduated container or measuring jug is particularly useful because it allows you to monitor the increase in volume more accurately. Cover the container and leave it to ferment for approximately 48 hours at 25 °C (77 °F).
By the end of this stage, you should begin to see more noticeable growth, reaching approximately 1.5 times its initial volume.
From this point onward, the starter should become progressively more active after each feeding. Over the following days, its growth should become increasingly noticeable and consistent, eventually doubling — and later exceeding twice — its initial volume. If your starter develops more slowly, it does not necessarily mean that something has gone wrong: stabilization times can vary, and it may simply need a few additional days.
Continue with regular feedings, keeping the proportions and temperature as consistent as possible, until the starter is able to triple its volume in approximately 20–24 hours at 25 °C (77 °F).











48 thoughts on “Come fare il lievito madre in casa”
Buonasera vorrei preparare il lievito madre seguendo la sua ricetta ma ho alcune domande:
1) perché si aggiunge il sale la prima volta?
2) si può creare un LM con la semola ( ne ho una biologica) o semola rimacinata? Se sì quante proteine deve avere la farina? Se cambio la farina al terzo rinfresco potrei compromettere il risultato finale?
3) Se aggiungo alla farina germe di grano biologico posso creare il LM? Se sì quanta percentuale occorre?
Complimenti per il sito e la conoscenza che è molto alta leggendo il blog, complimenti.
Ciao Luca,
sono molto contento che Biancolievito ti piaccia!
Per rispondere alle tue domande, il sale (in piccolissime percentuali) è un modo per tamponare l’acidità prodotto dal lievito durante la prima fermentazione. Se noti, è il solo stadio in cui viene inserito.
Per quanto riguarda la farina di semola o il germe di grano, sono entrambi ingredienti che tendono molto ad acidificare, per cui ti consiglio di preparare il lievito con un’ottima farina raffinata e ricca di proteine, e poi di usare la semola o il germe per la preparazione delle ricette!
A presto!
Ciao ho iniziato da 6 gg e al primo rinfresco è andato tutto ok. dal secondo rinfresco il composto è diventato molto appiccicoso al limite della liquidità. Per riequilibrarlo non ho fatto bagnettoma aggiunto solo della farina senza zuccheri o altro. Domani rinfrescherò ma presumo di ritrovare stessa consistenza. Cosa fare?
Ciao Vittorio,
se stai iniziando a preparare il lievito madre NON devi fare nessun bagnetto né aggiungere zuccheri.
Il bagnetto si usa per conservare il Lievito Madre, una volta che sarà maturo e pronto!
Se vedi che il lievito tende a diventare appiccicoso (molto probabilmente la temperatura a cui lo conservi è troppo alta), al rinfresco successivo, aggiungi il 20% in più di farina (1kg di lievito e 1.2kg di farina)
A presto
Grazie avevo guardato il post e tutto adesso è ok. Ieri in 24h è cresciuto di 2 volte e mezza. Oggi probabilmente in 8 h arriverà a tre volte la massa. E’ arrivato a maturazione e posso procedere allo step successivo (conservazione) ? ho iniziato 10gg fa da zero
Ciao Vittorio,
sì una volta che il lievito è maturo, potrai passare alla fase di conservazione.
Dopo il bagnetto ed il rinfresco (Ecco come Conservare il Lievito Madre), potrai conservarlo per 24ore a temp ambiente, oppure mettere in frigorifero e conservare fino a 5giorni!
A presto
Buonasera, ho fatto il lievito madre e sono arrivato alla “fase finale” dove il lievito mi è piú che triplicato in 8 ore….
È dal 16 marzo che ho iniziato a farlo…
La domanda è:”posso giá usarlo per fare il pane o la pizza?”
Una mia amica mi ha detto che deve passare 1 mese da quando ho iniziato, è vero?
Io stasera ho fatto l’impasto della pizza che dovrei fare domani sera, vorrei sapere se devo buttare tutto.
Grazie mille.
Ciao Luca,
se il tuo lievito ti triplica in meno di 8 ore, significa che è pronto; male che vada potrebbe essere un pò debole.
Fai un paio di rinfreschi la prossima volta, prima di usarlo nella ricetta!
A presto
Buonasera.
Sono passati 10giorni da quando ho iniziato e negli ultimi due( oggi è il terzo giorno) l’ho rinfresco ogni 12 ore sempre con il 150g di farina, 150g di lievito madre e 50g d’acqua.
L’ultimo rinfresco effettuato alle 13:10 ho notato, fotografandolo ogni ora, che ha triplicato in 4 ore.
Ora mi chiedo se il lievito madre è pronto?
Ho letto che gli alveoli devono avere la forma “allungata” mentre i miei sono più circolari.
Va bene comunque?
Gli alveoli le prime due ore erano poco visibili ma con il passare del tempo sono diventati più visibili. È normale?
Ciao Luca,
ottimo.. se il lievito ti triplica in 4 ore è pronto!
Gli alveoli piccoli e circolari potrebbero denotare un’acidità eccissiva, ma la puoi aggiustare con qualche rinfresco 1:1.2 (1kg di lievito e 1.2kg di farina)
A presto!