
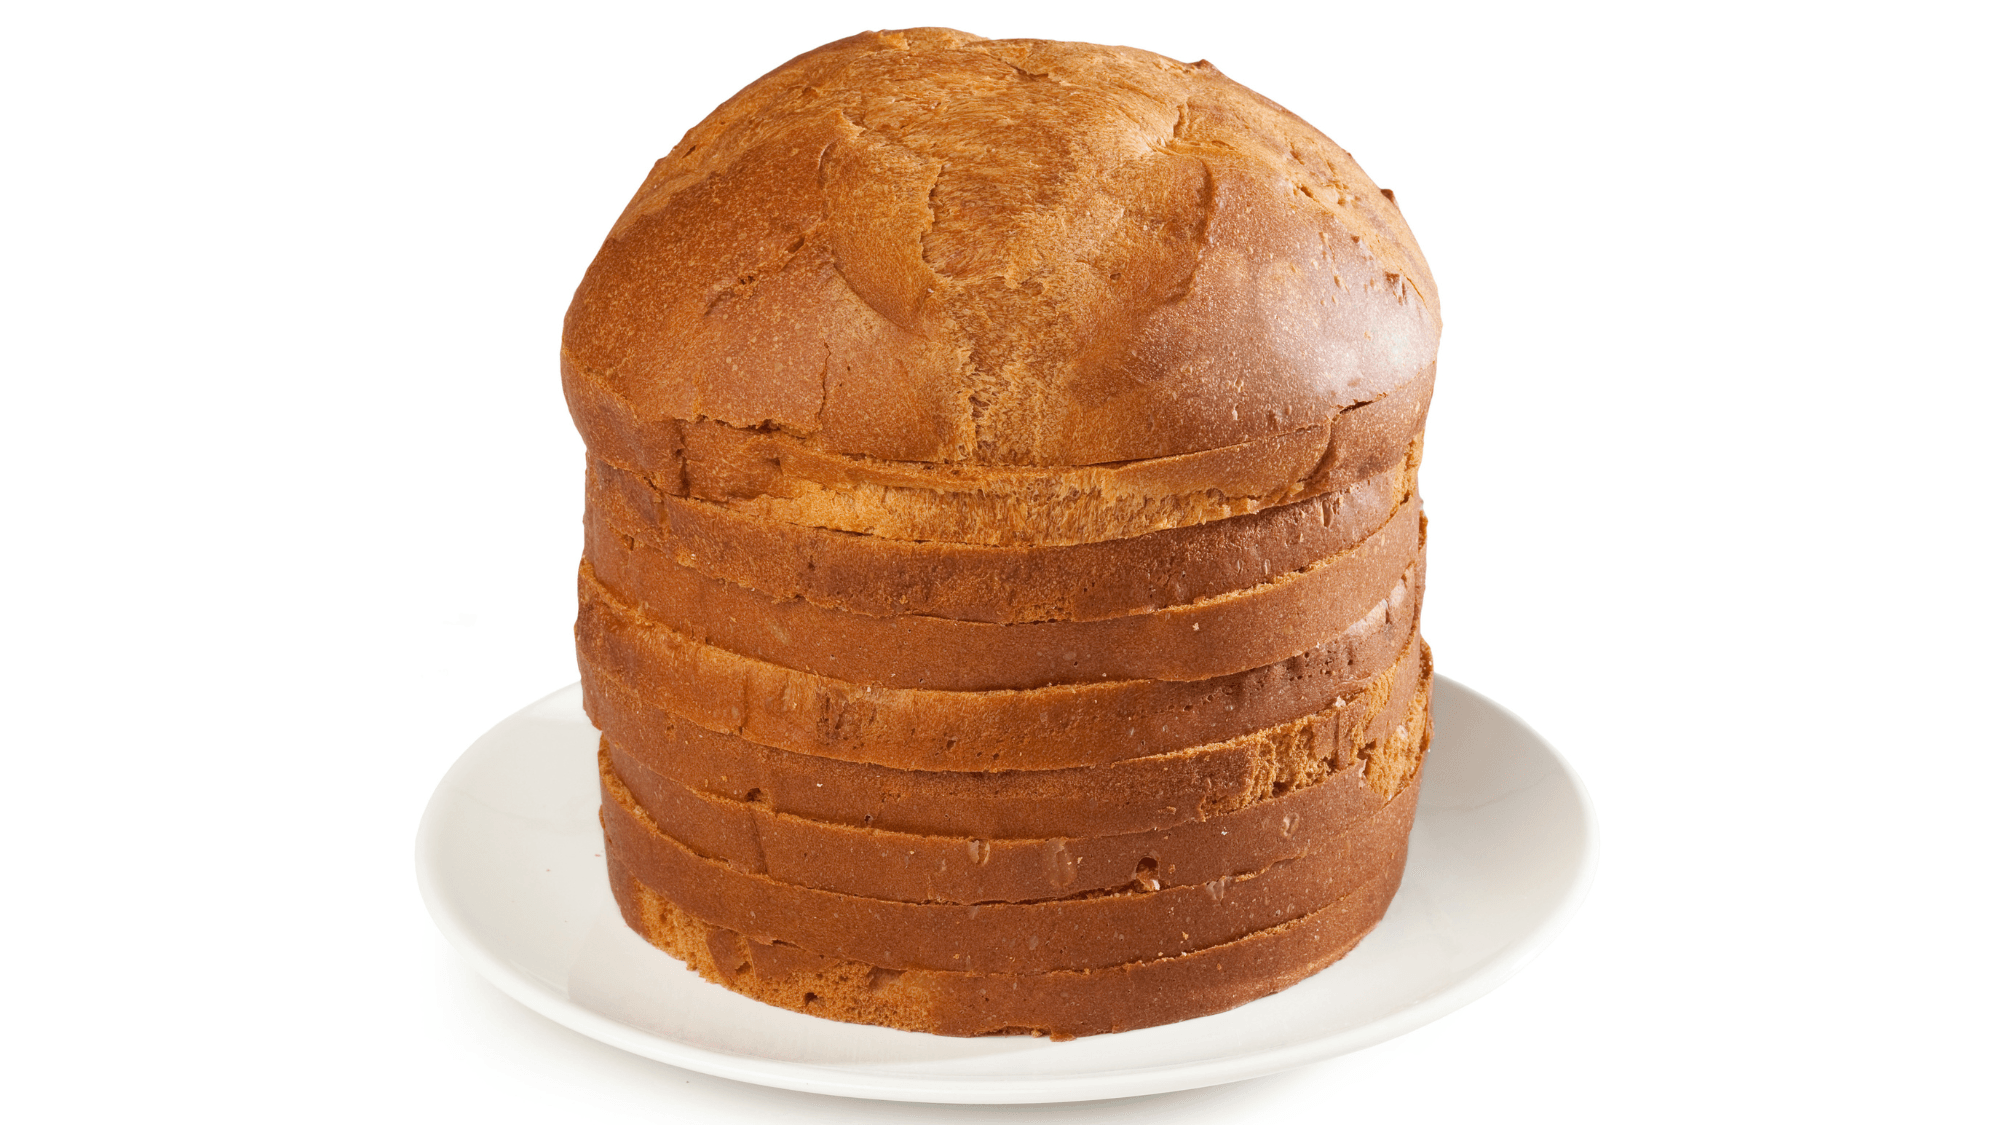
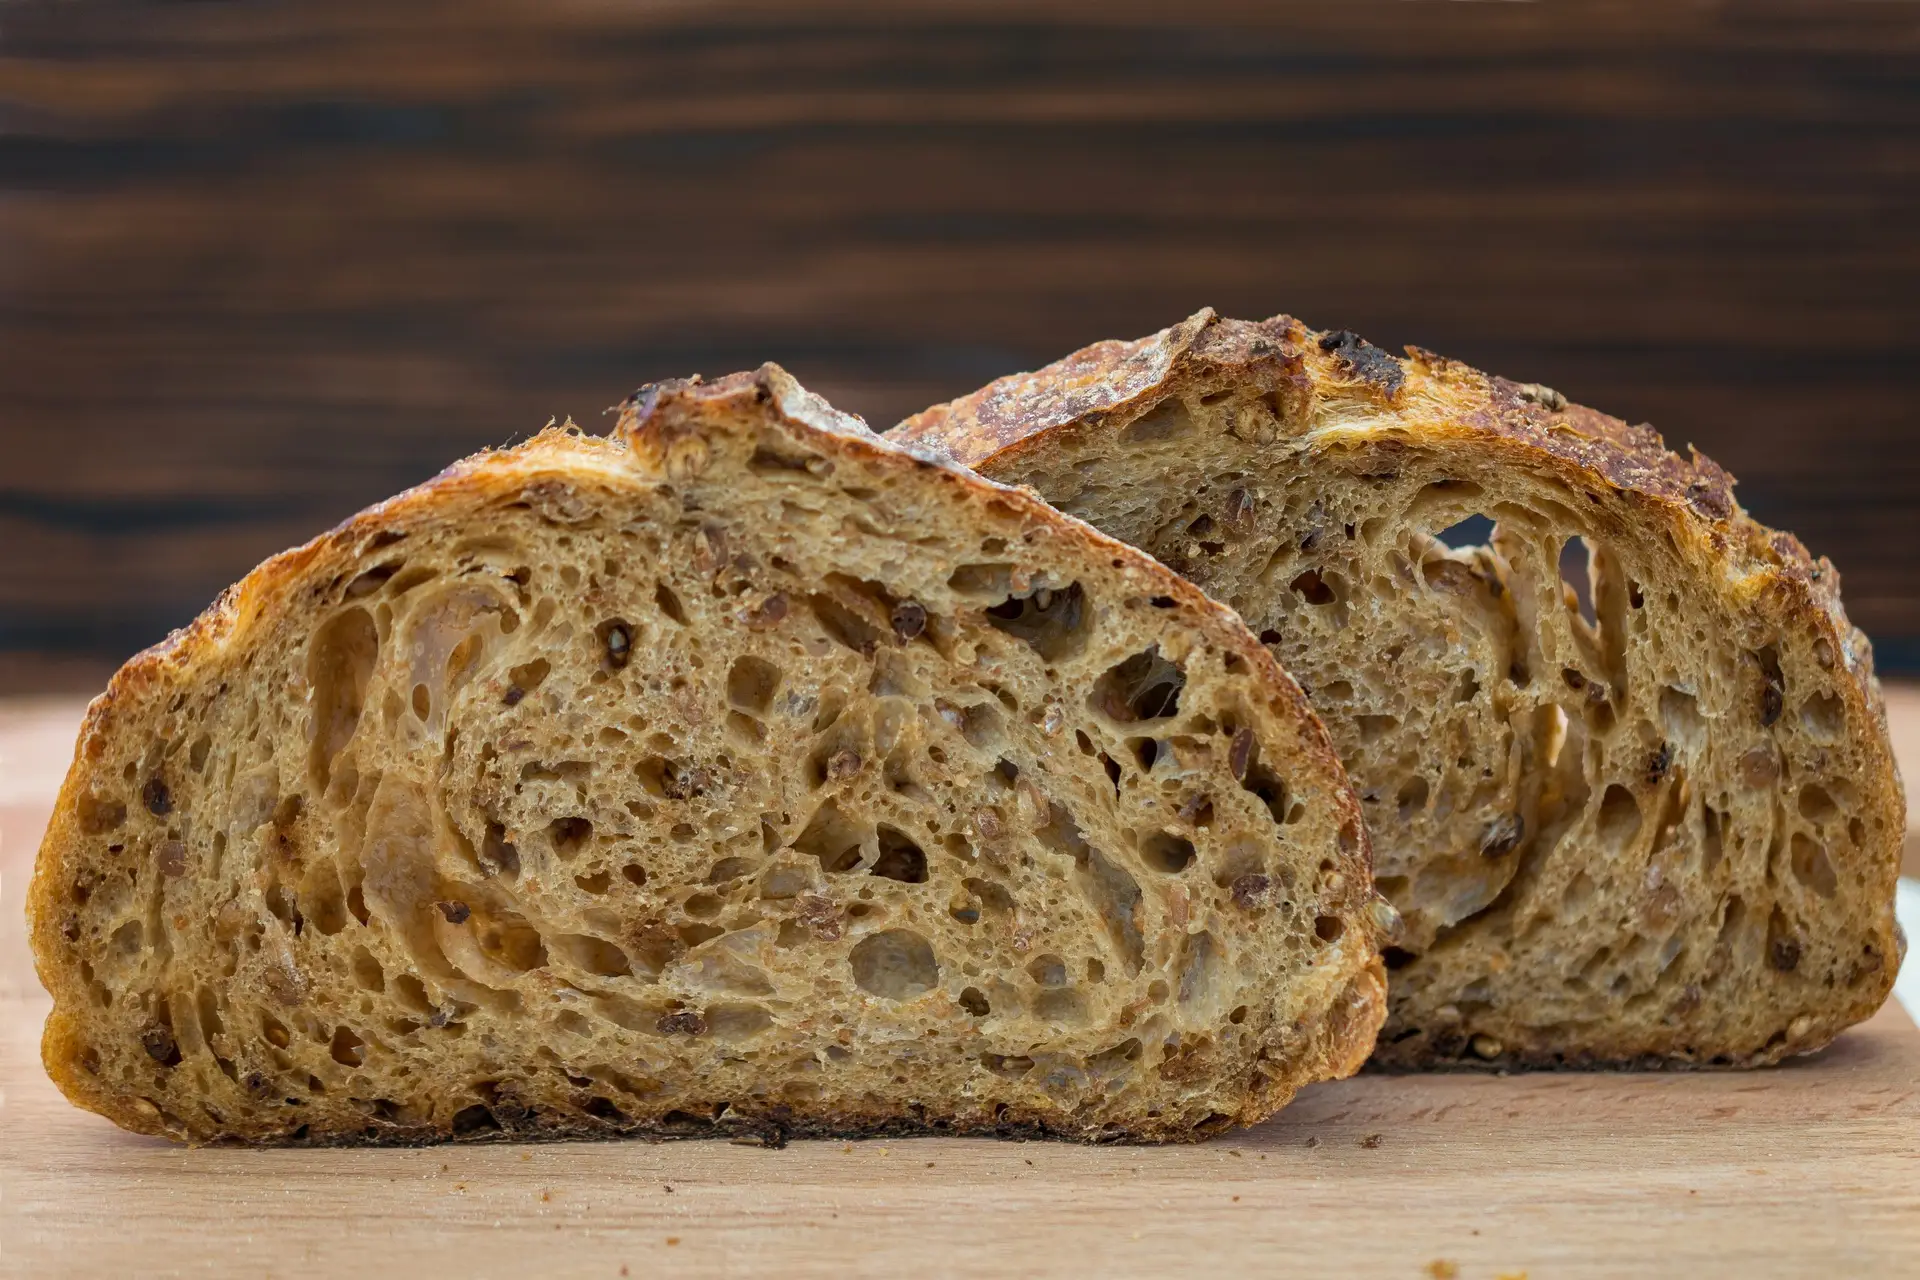
Making excellent homemade bread without using a mixer is possible, and I will tell you that the result can really be amazing!The secret? A well-known baking technique called AUTOLYSE! The name might sound complicated, but in reality, there is a huge simplicity behind this technique: Let the proteins in the flour hydrate on their own! In fact, you just need to mix flour and water for the time necessary for the water to be completely absorbed. After resting for 30-40 minutes, you will see that the dough has already developed an unexpected consistency and elasticity.In this recipe, I have used whole wheat flour (stone-milled). Still, you can use any other type of flour (with gluten) you prefer, correcting the water in the dough as I suggested in the recipe notes.Moreover, the bread prepared with the Biga will develop an intense aroma and be more digestible!
kg of Bread
Equipment
- Cooking Thermometer
- Proofing Baskets
- Baker's Couche
- Bread Lame
Ingredients
Per la Biga
- 500 gr Whole Wheat Bread Flour
- 220 gr Water (at the right temperature)
- 5 gr Fresh Yeast ((or 2gr of dry yeast))
Per l'impasto
- 500 gr Whole Wheat Bread Flour
- 620 gr Water
- 20 gr Salt
- 5 gr Malt Powder ((optional))
- 1 gr Fresh Yeast
Instructions
For the Biga
- To obtain a Biga at the right temperature (18°C - 19°C, 64°F-66°F), measure the temperature of the flour and of the room. The temperature of the water to use for the biga will be: 55 - flour temp - room temp !! This formula only works for °C!!
- Pour the flour, fresh yeast (or dry yeast), and water into a bowl and knead it roughly with your hands or a spoon. The final dough must be quite rough
- Cover with a sheet of plastic wrap and ferment the biga for 16 hours at about 19°C (66°F)
For the Dough
- Pour the flour into a bowl and add 280gr of water. Briefly mix the ingredients until the water will be completely absorbed.
- Cover the bowl with a towel and let the dough rest for 40 minutes at room temperature. During this time, the proteins in the flour will have time to hydrate and better prepare to form the gluten mesh. This kneading technique is called AUTOLYSE.
- After 40minutes add the ripe biga, water, malt powder, fresh yeast, and salt.
- Cover the dough with a cloth and let it rest again for 40 minutes.
- At this point, the dough will be elastic and more extensible, and we are ready to give the famous "folds" to the bread.
- Then lift flaps of dough and fold them toward the center, swirling the bowl until they touch the entire perimeter of the dough. Cover and let rest for 30 minutes at room temperature.
- Repeat this step of folding a second time, cover the dough with a cloth, and let it rise for 3 hours at 28°C (82°F).
- After 3 hours, pour dough onto the floured work surface and divide into 2 portions.
- Stretch the dough out on the work surface, close the side flaps inward, and then fold the top end of the dough toward the center, forming a loaf.
- Let the dough rest for about 15minutes before shaping the loaves.
- To better stretch the gluten in the loaves, take one loaf and let it fall back on the work surface several times, folding one end toward the center. Finally, roll the loaf on the work surface with the hands (this technique is called "pirlatura" in Italian) until the dough surface is well stretched.
- Let the loaves rise 15minutes to relax the gluten.
- After 15 minutes, repeat the previous operation and place the loaves in proofing baskets, keeping the base upwards. Instead of baskets, you can use a bowl covered with a well-floured baker's couche.
- Let the loaves rise for about 2 hours at room temperature. Otherwise, cover them with a proofing cloth and let them rise in the fridge for 12 hours.
- Dust a baking sheet with flour, turn the loaf over, and remove excess flour.
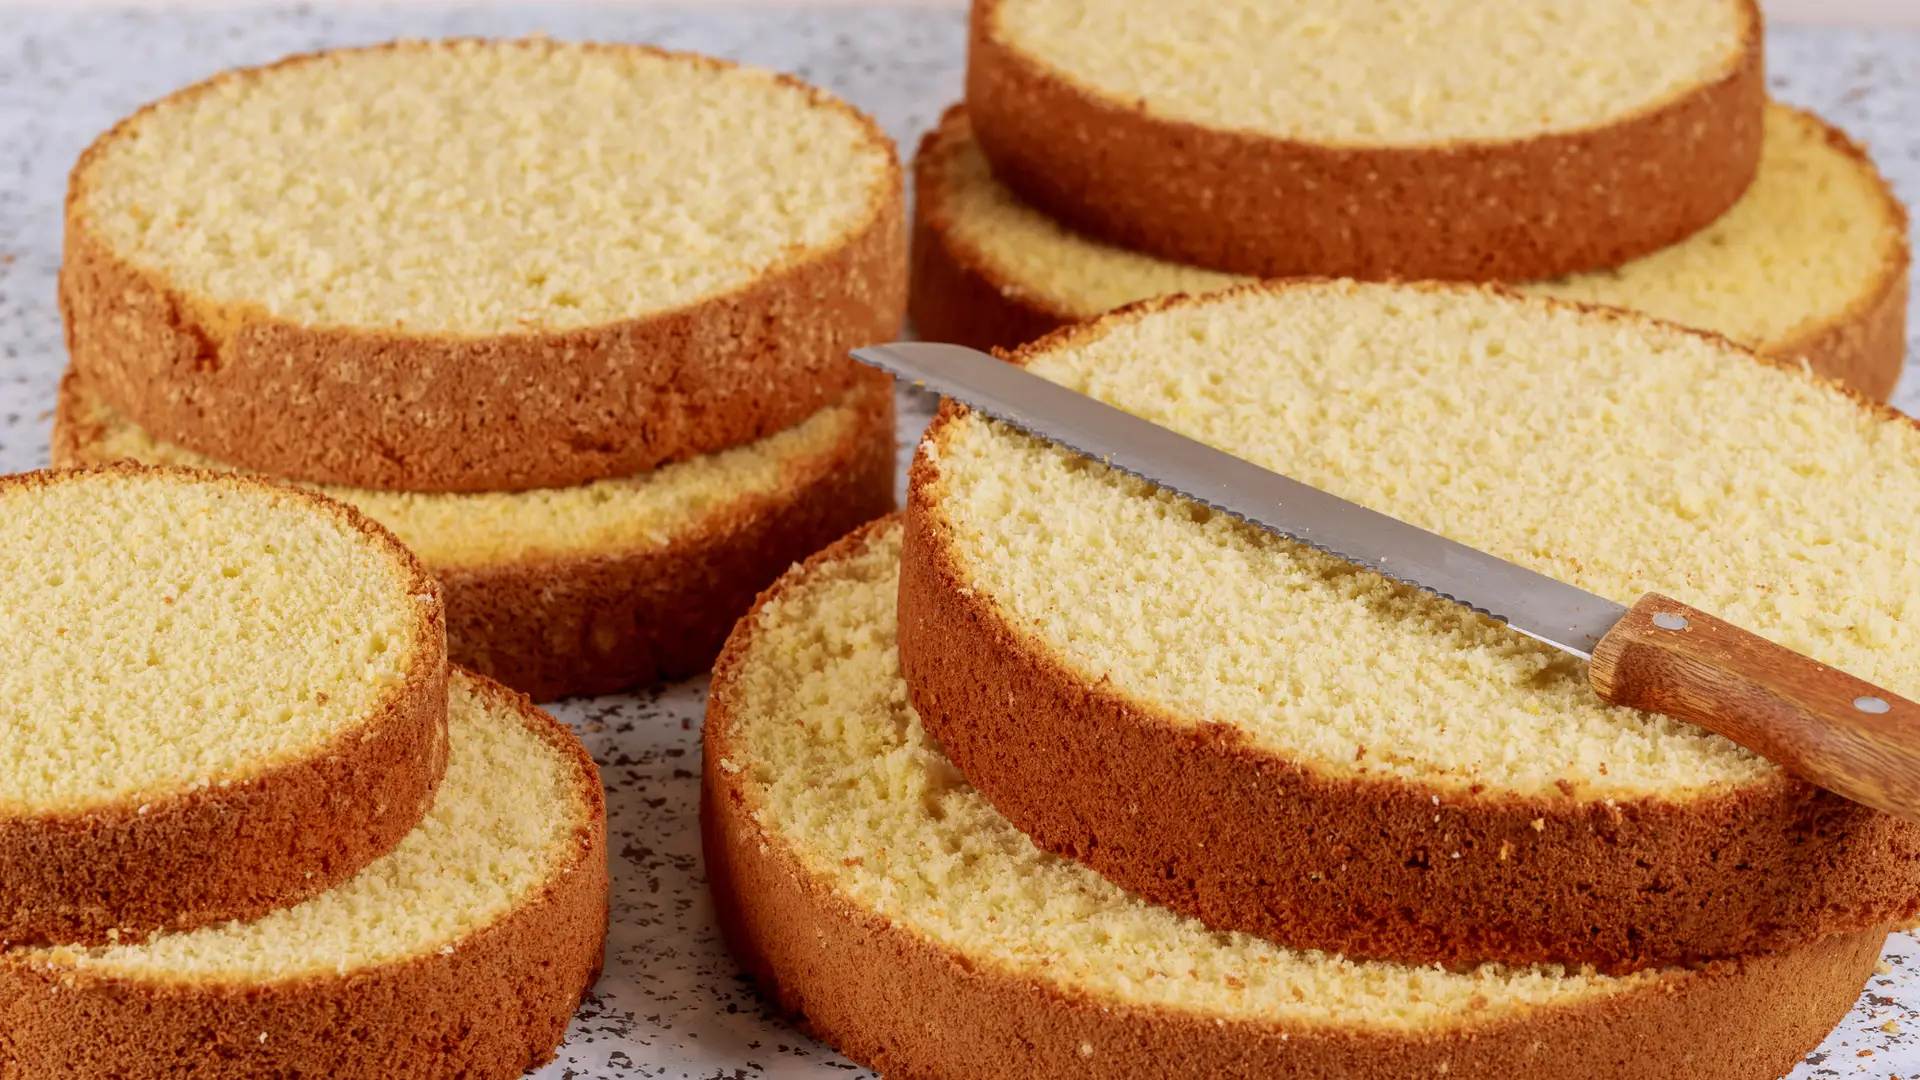
- Score the surface of the bread with a baker's lame and bake at 230°C (446°F) for about 1hr. I recommend creating some steam in the oven during the first 30min, using a small pot of boiling water on the base of the oven.
- 15minutes before the end of baking, open the oven door slightly to let the steam escape so that the bread crust is dry.
- Take the loaves out of the oven and let them cool on their sides for a few hours.
Notes
If you want to learn a few tricks, here's how to make a perfect Biga, and don't miss the other recipes for Homemade Bread and Pizza.
Do you know Autolyse? Click here if you want to discover more about this helpful technique!
Nutrition
Serving: 50g | Calories: 3424kcal | Carbohydrates: 725g | Protein: 133g | Fat: 25g | Fiber: 108g | Sugar: 4g


24 thoughts on “Pane Veloce senza Impasto”
Buongiorno,
se volessi formare dei filoni invece che delle pagnotte, come dovrei procedere nella formatura e lievitazione?
Grazie
Ciao Elisa,
rimane tutto uguale; devi solo cambiare la forma del pane a tuo piacimento!
A presto!
Se uso il lievito di birra secco, per la biga ne utilizzo 2 gr e nell’impasto devo aggiungere 1/3 di grammo?
Se faccio l’ultima lievitazione in frigorifero per 12 ore, quando tolgo il pane dal frigorifero devo lasciarlo per un po’ a temperatura ambiente o posso metterlo subito in forno a cuocere?
Grazie. Buona giornata
Ciao Sabrina,
sì ne metterai 2gr nella biga e 1gr nell’impasto (per quantità così piccole possiamo arrotondare)!
Una volta tirato fuori dal frigo, ti consiglio di lasciar acclimatare l’impasto per 10minuti prima di inciderlo ed infornarlo!
A presto!
Ciao, se volessi usare la farina 1 per la biga?
Ciao Tania,
puoi farlo, ma in questo caso la biga maturerà prima (perché la parte cruscale contenuta nella farina 1 accelera la fermentazione).
Fai maturare la biga per 12ore a 18/20°C
A presto!